Highlights of Advanced Modules
Advanced Modules

AMC
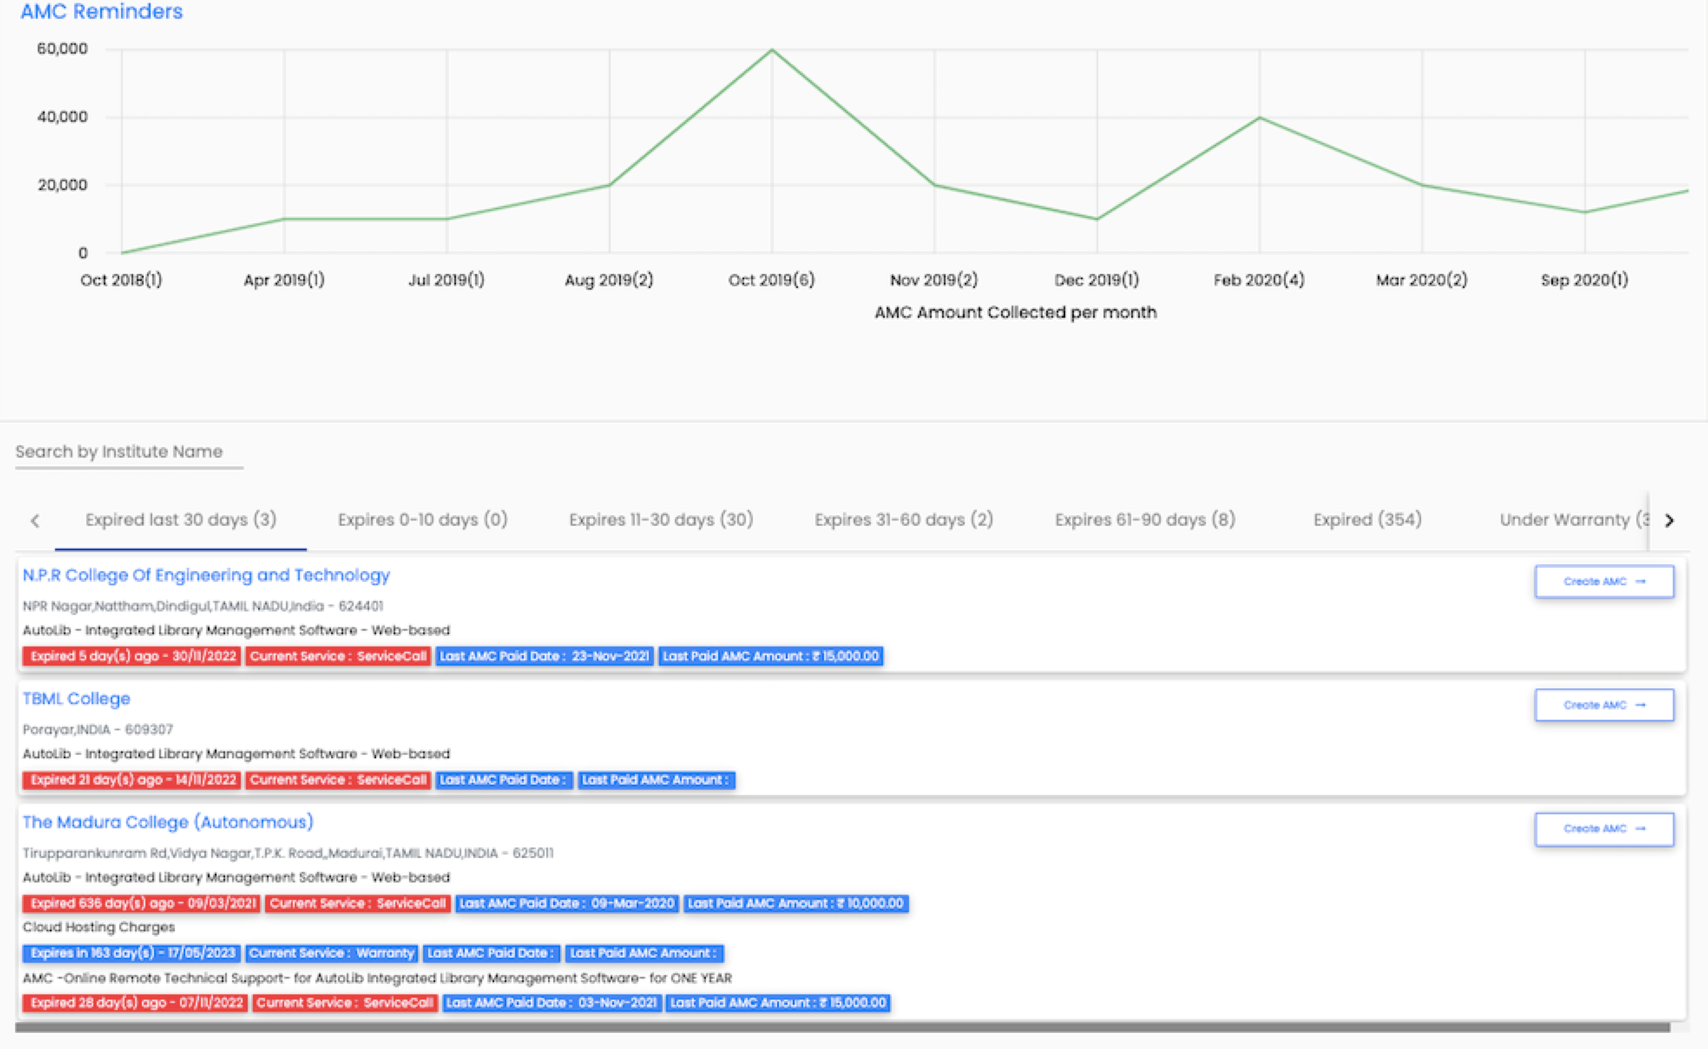
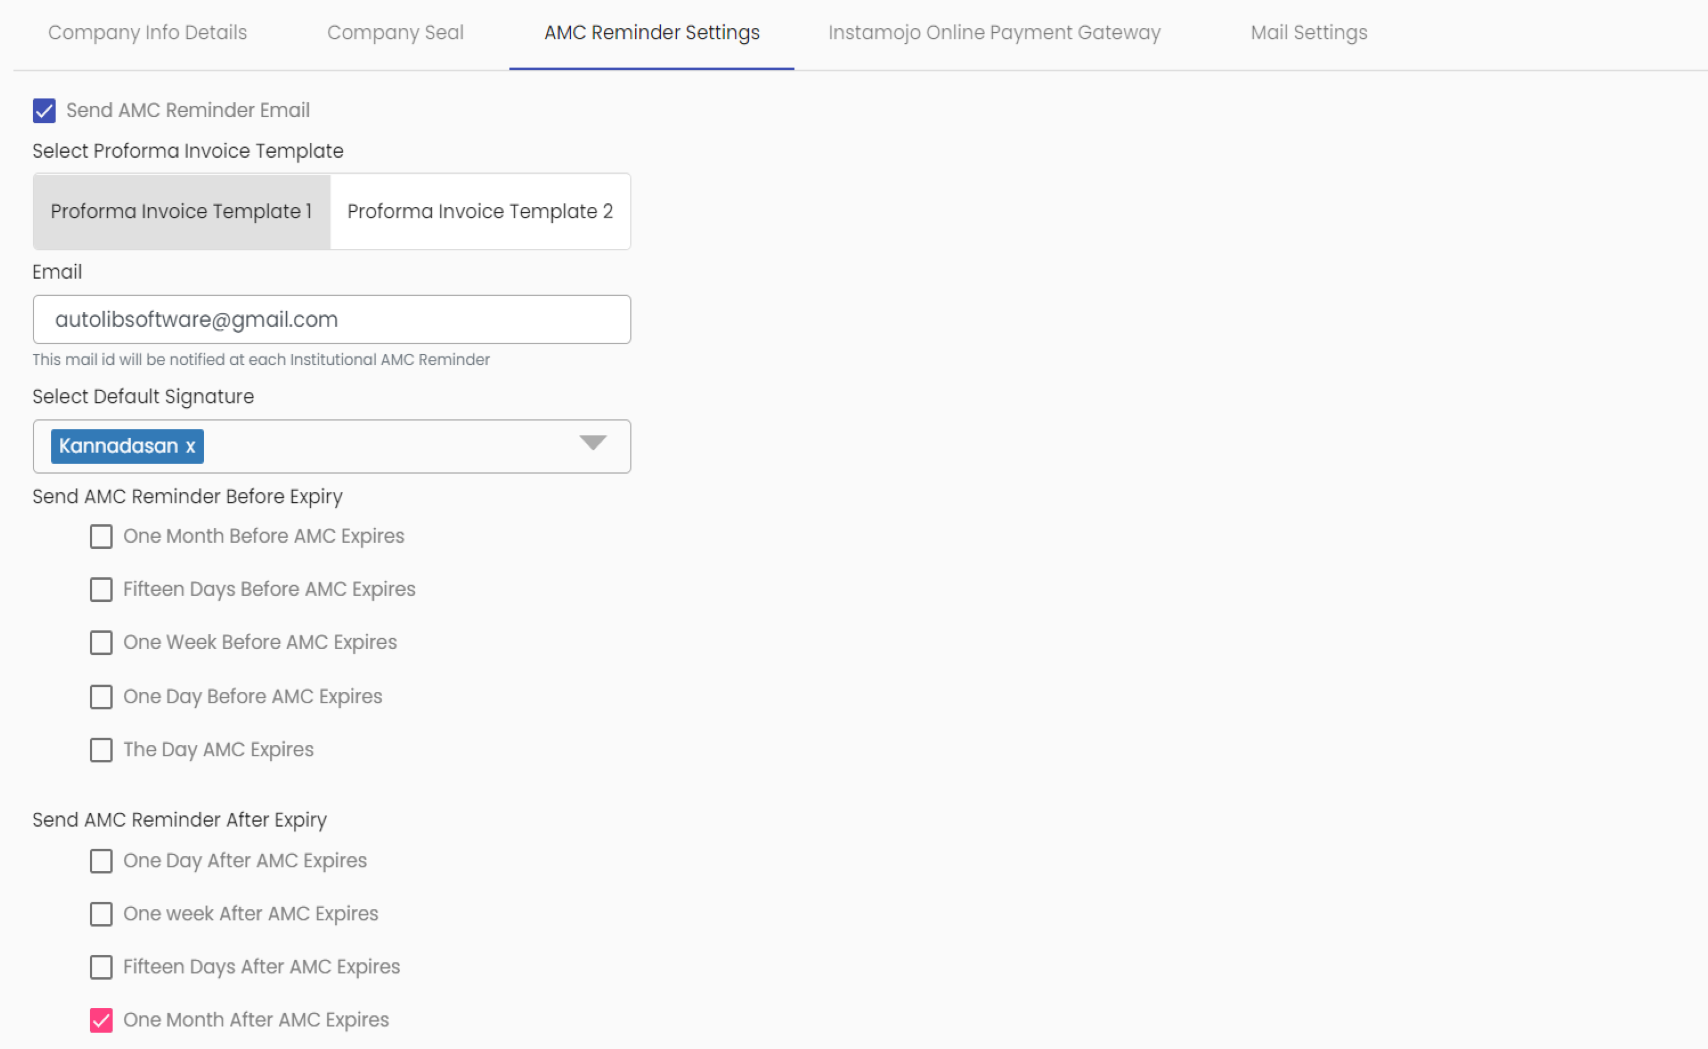
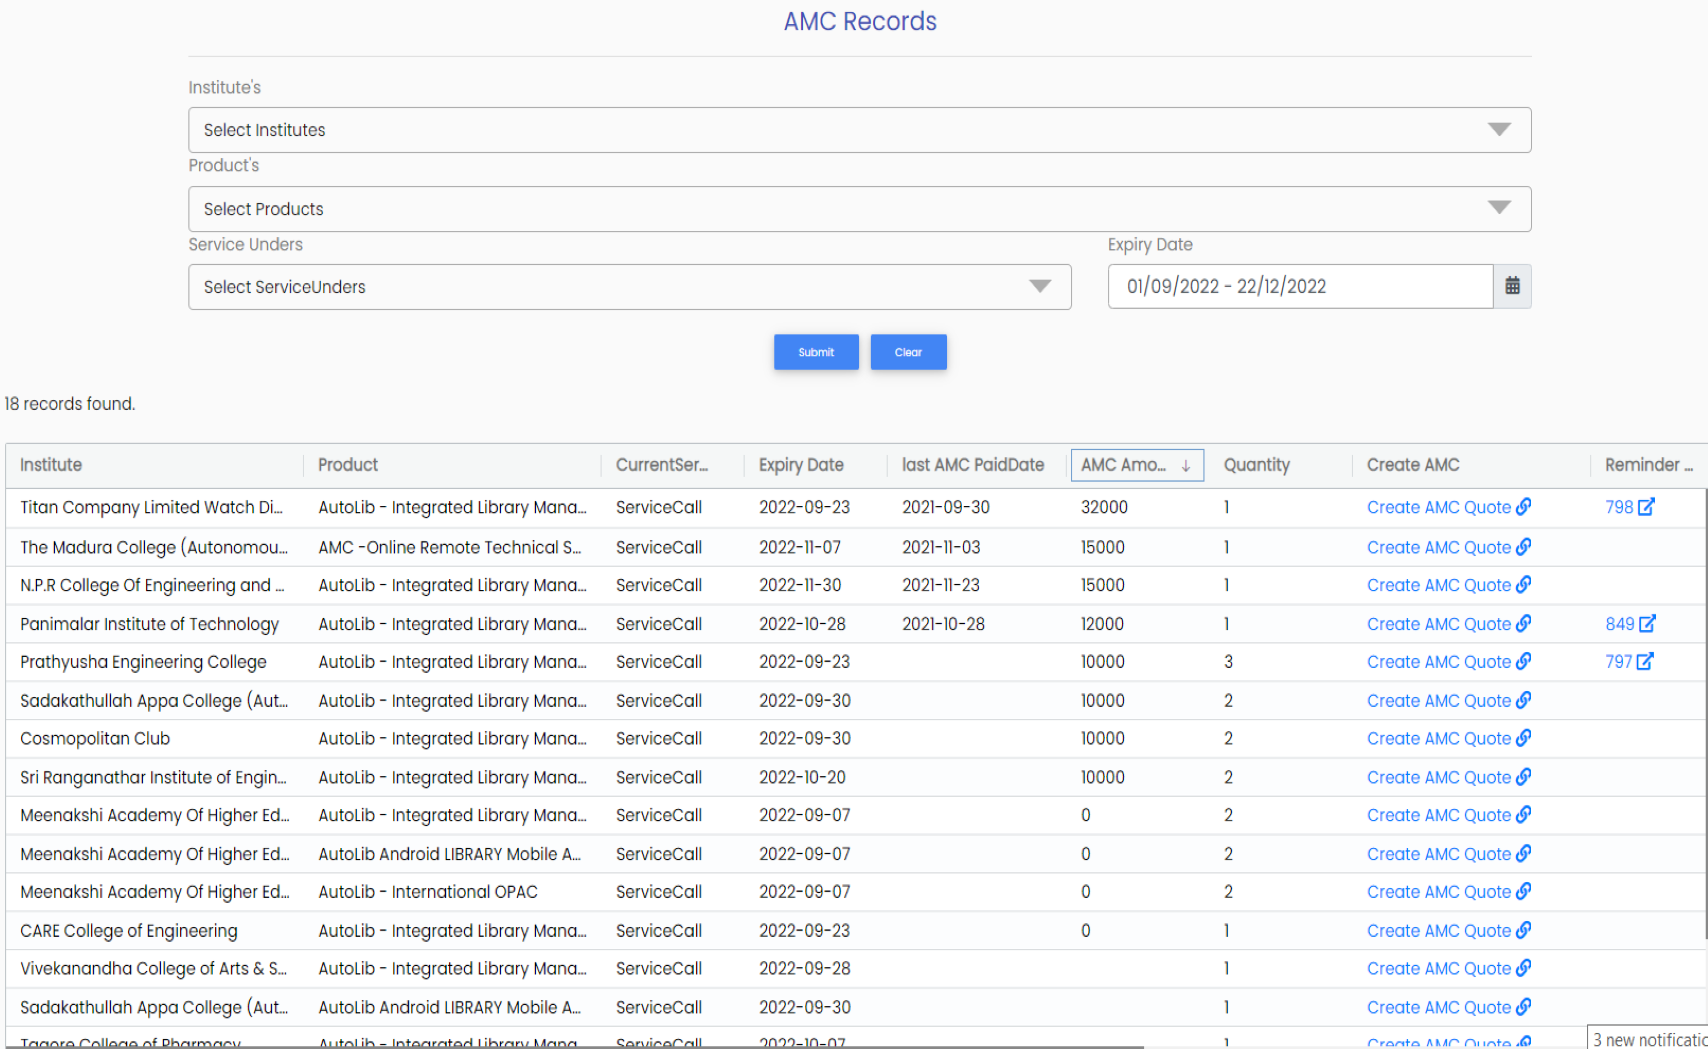
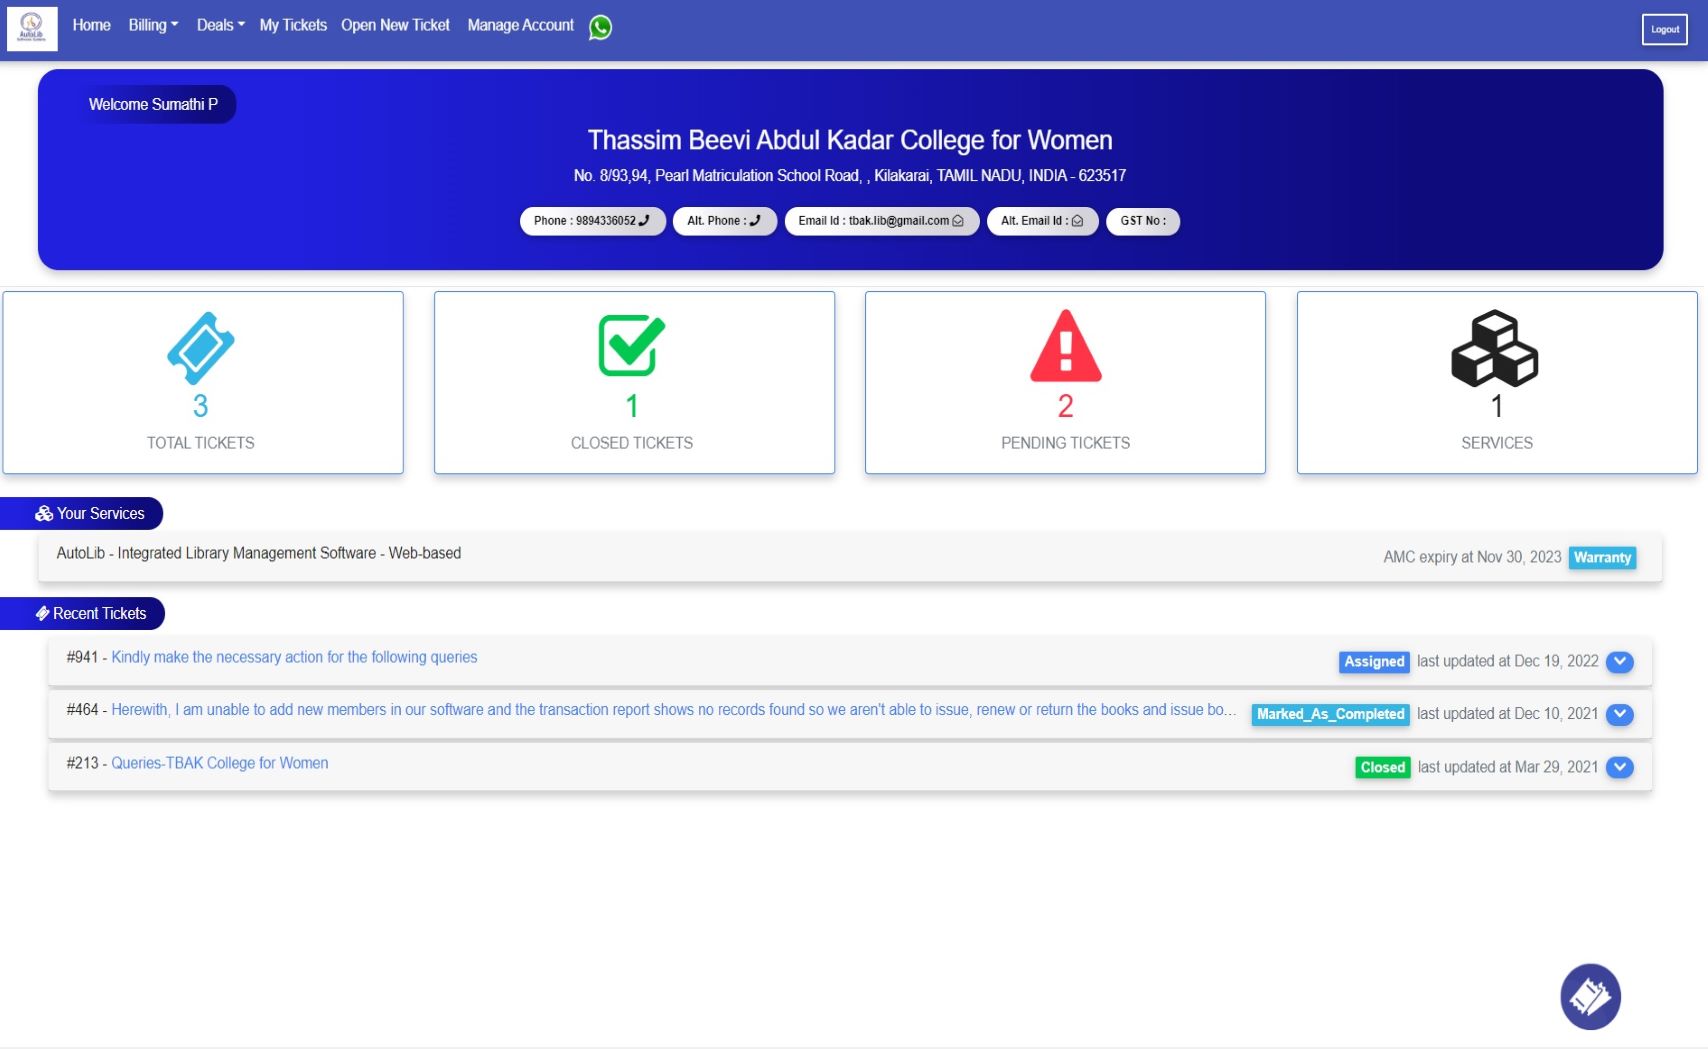
Dashboard AMC Records AMC Invoice Payment Receipt Reminder

Ticketing
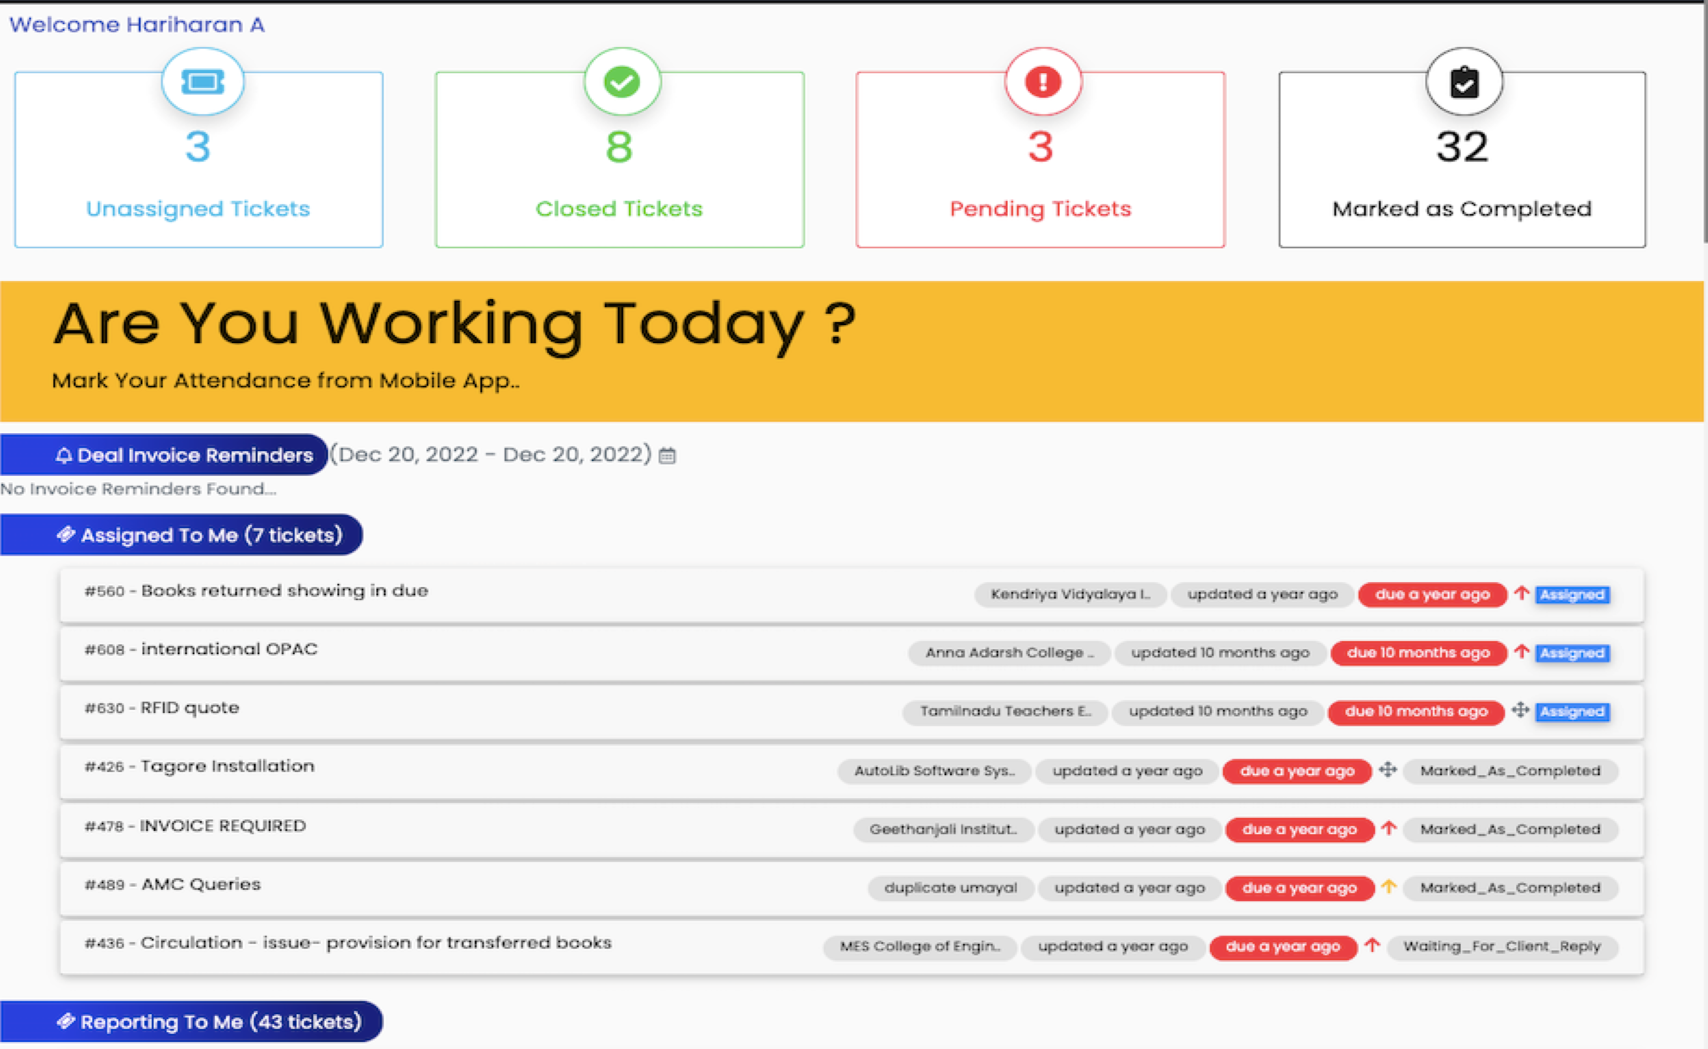
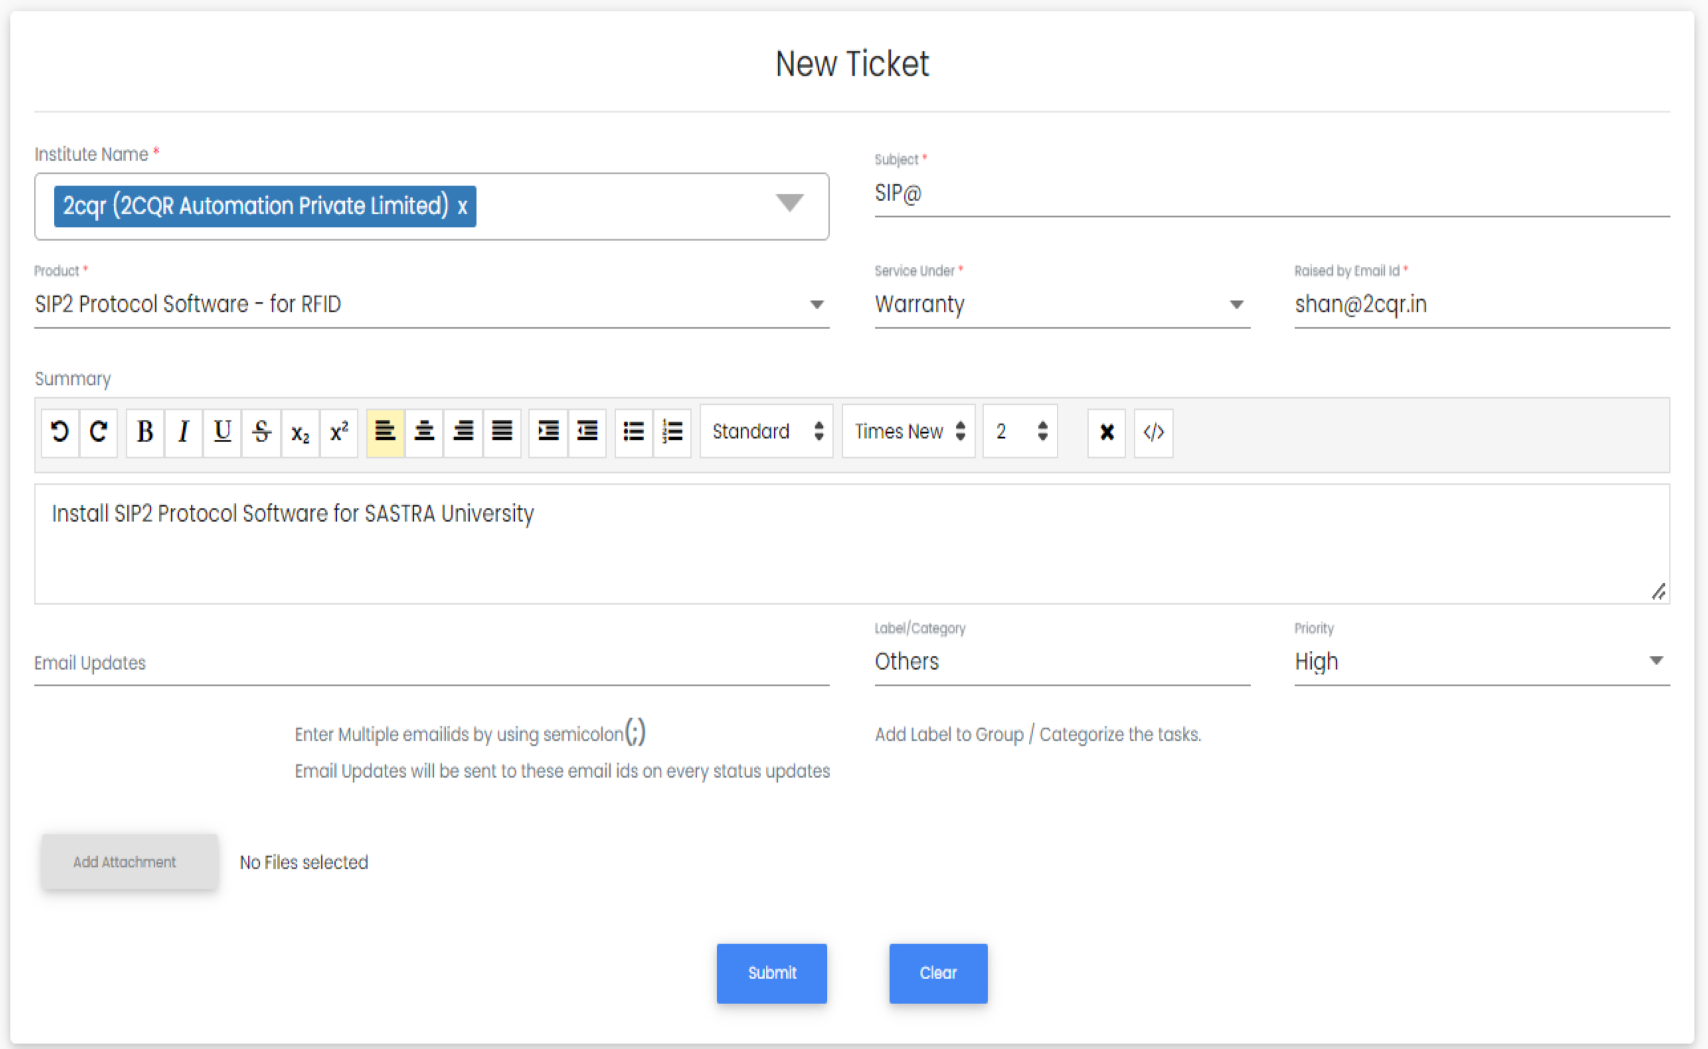
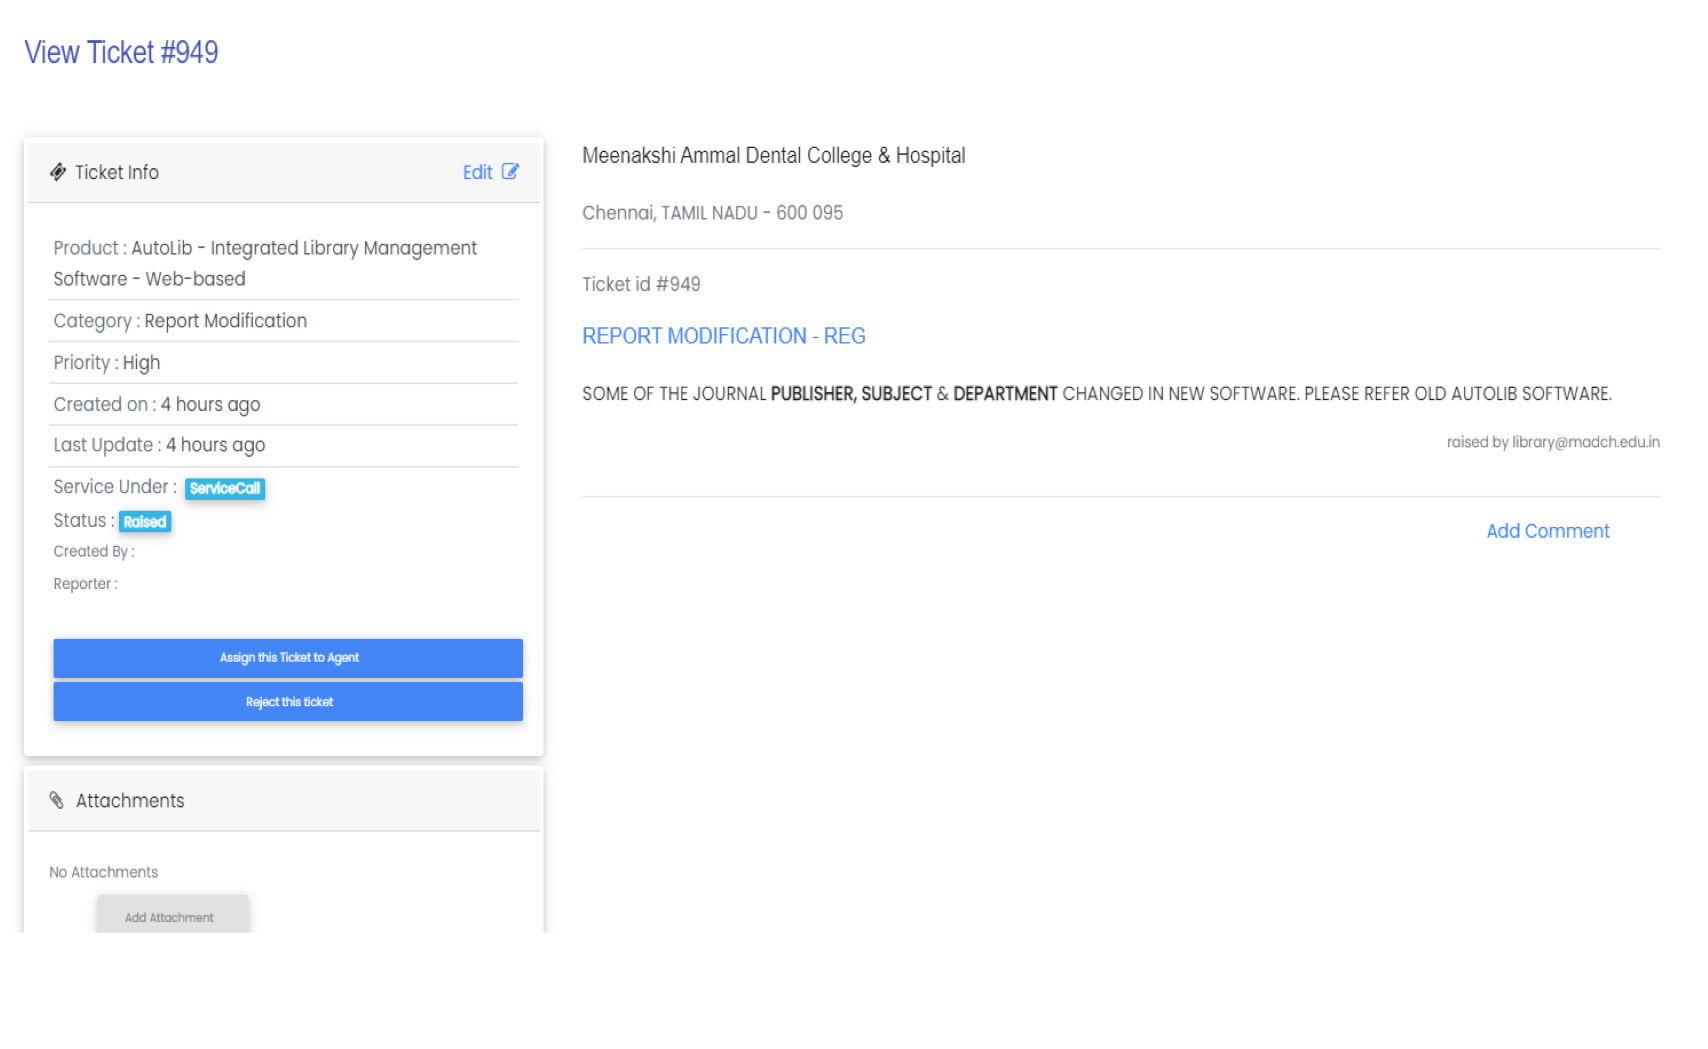
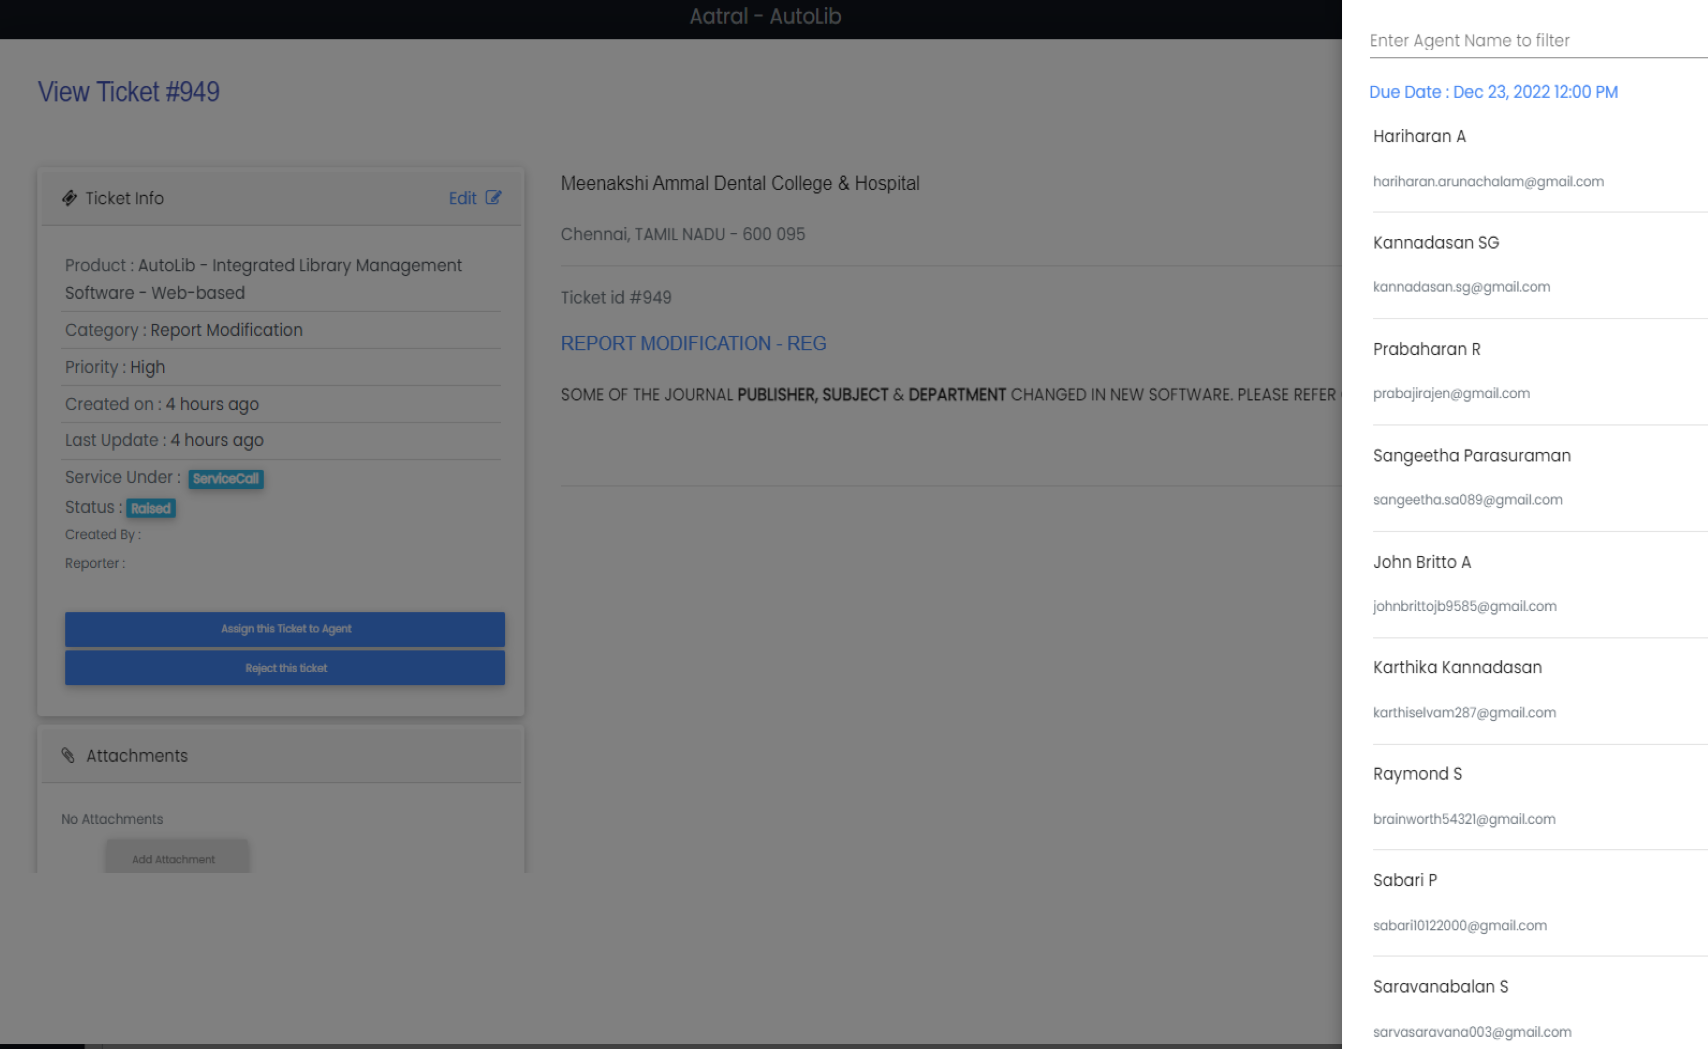
Unassigned Tickets Assigned Tickets Pending Tickets Closed Tickets View Tickets Assign Tickets Reject Tickets Ticket Reports Raise ticket Give feedback View History Create Ticket for Internal work Gmail Ticket

Accounting
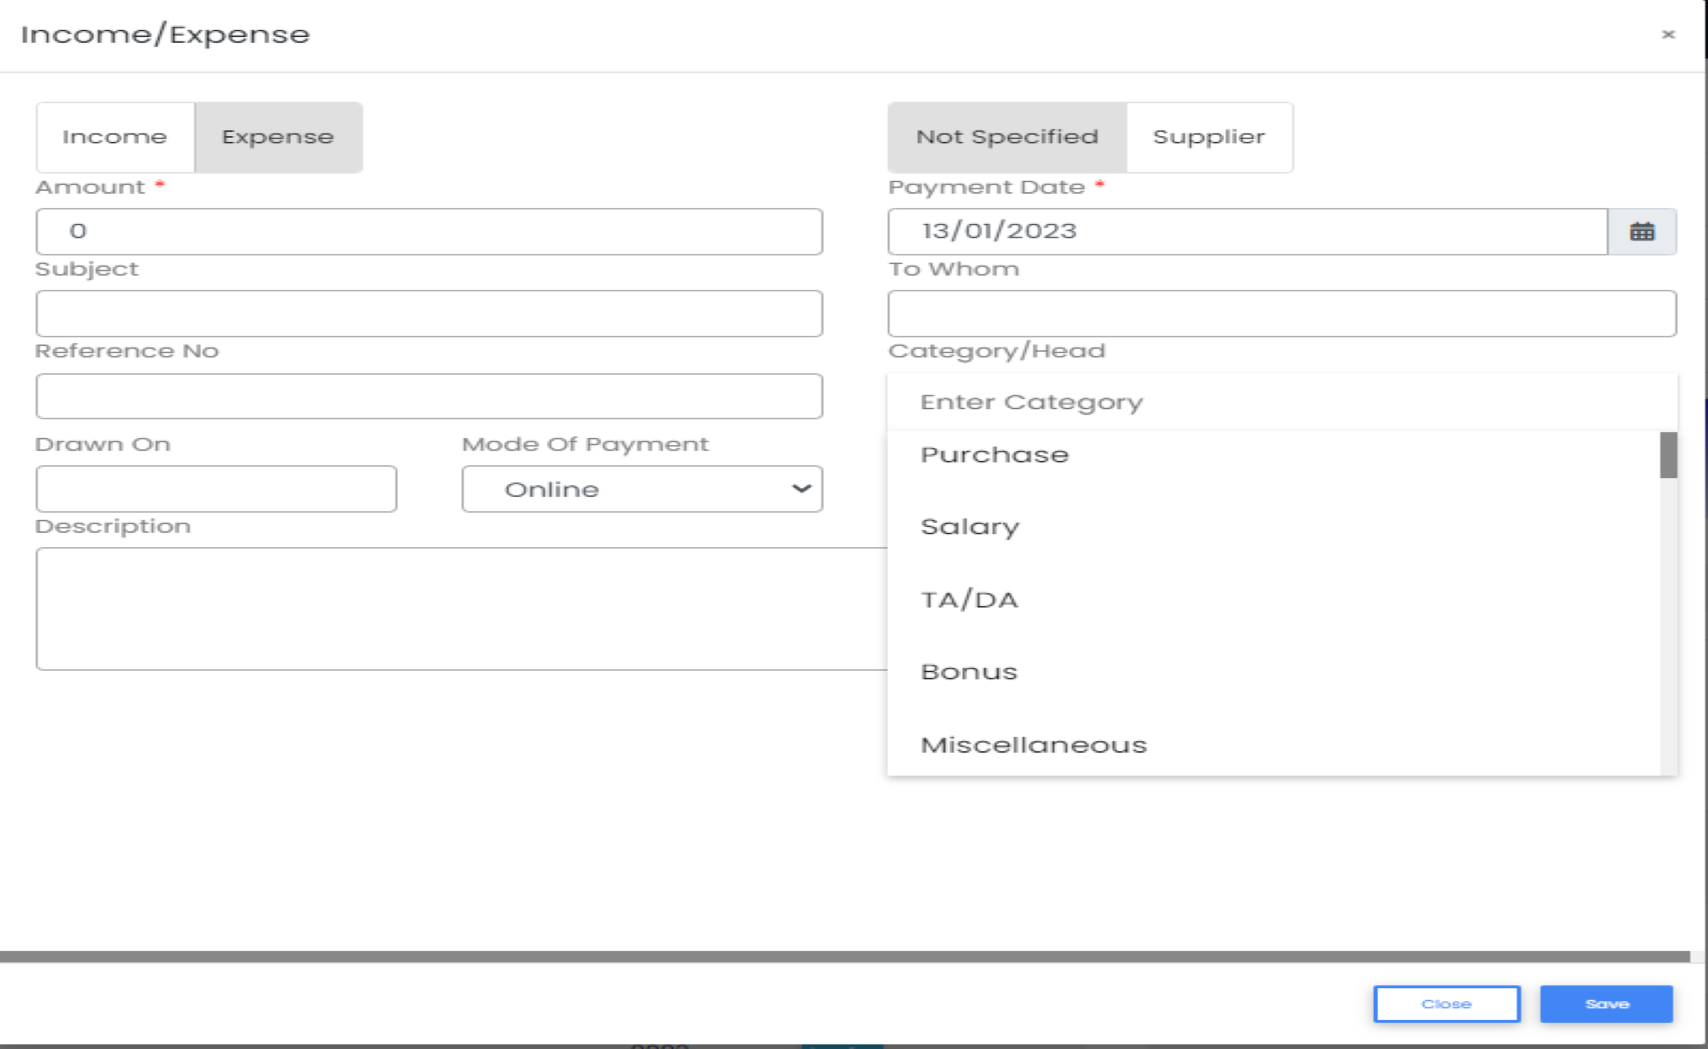
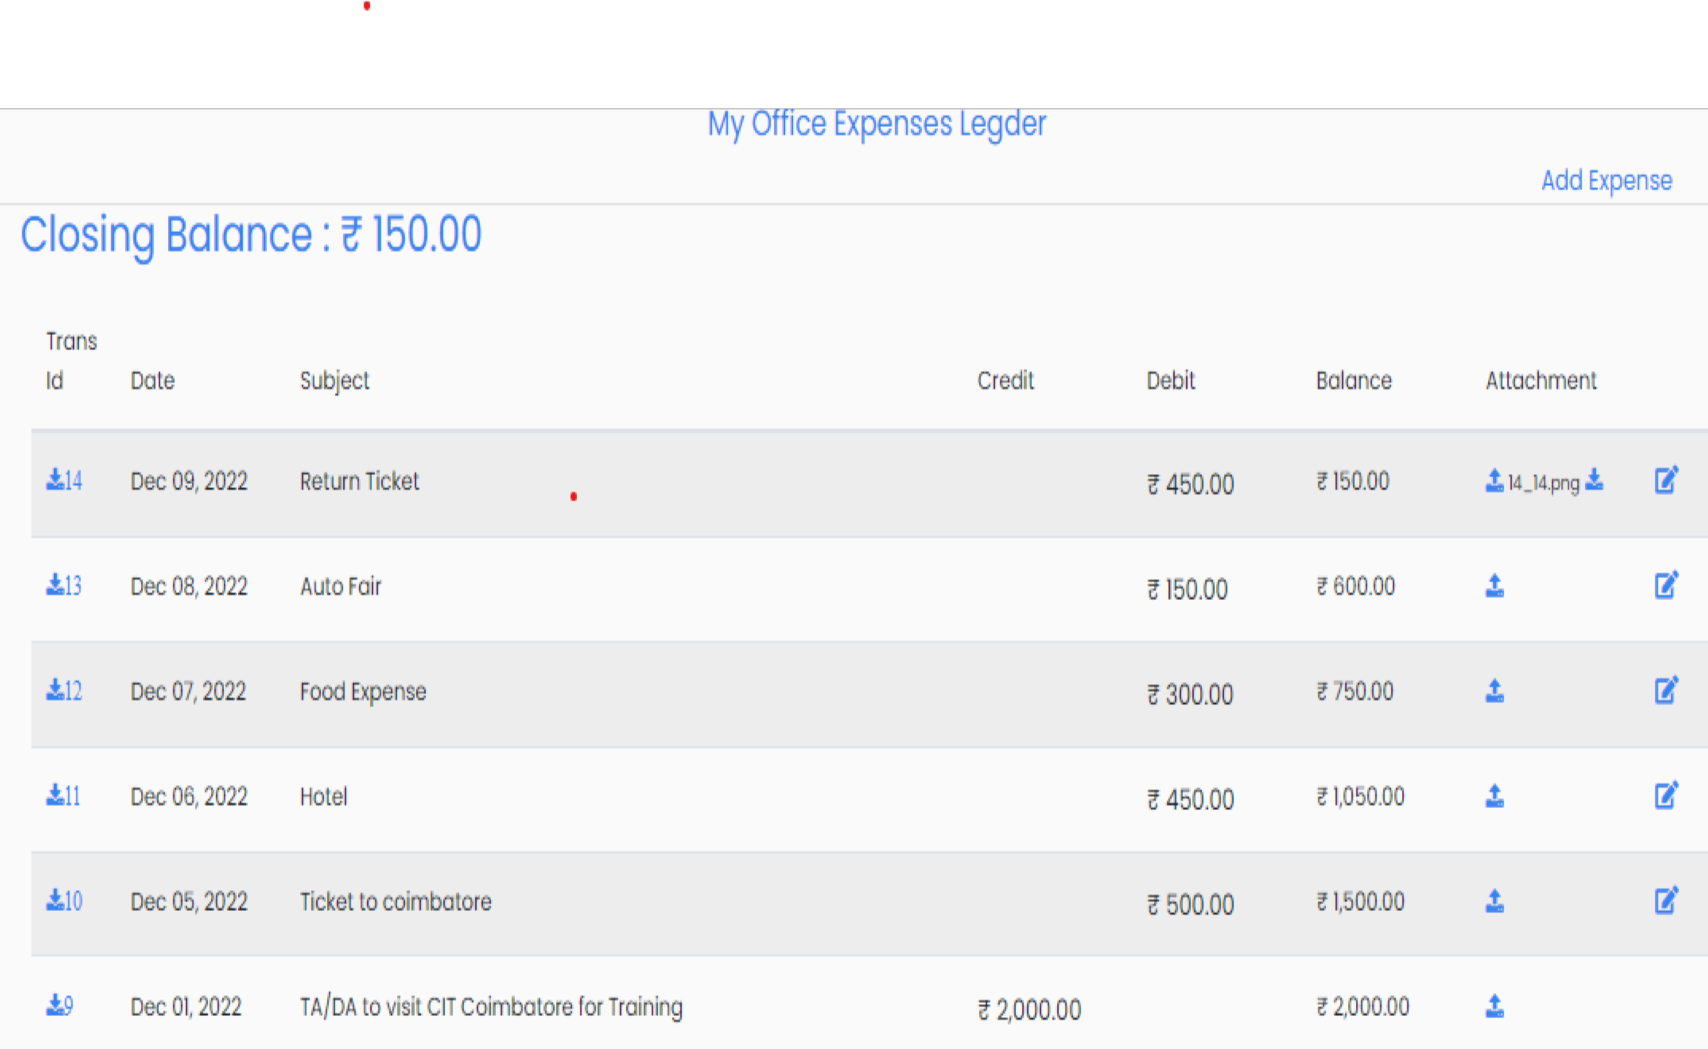
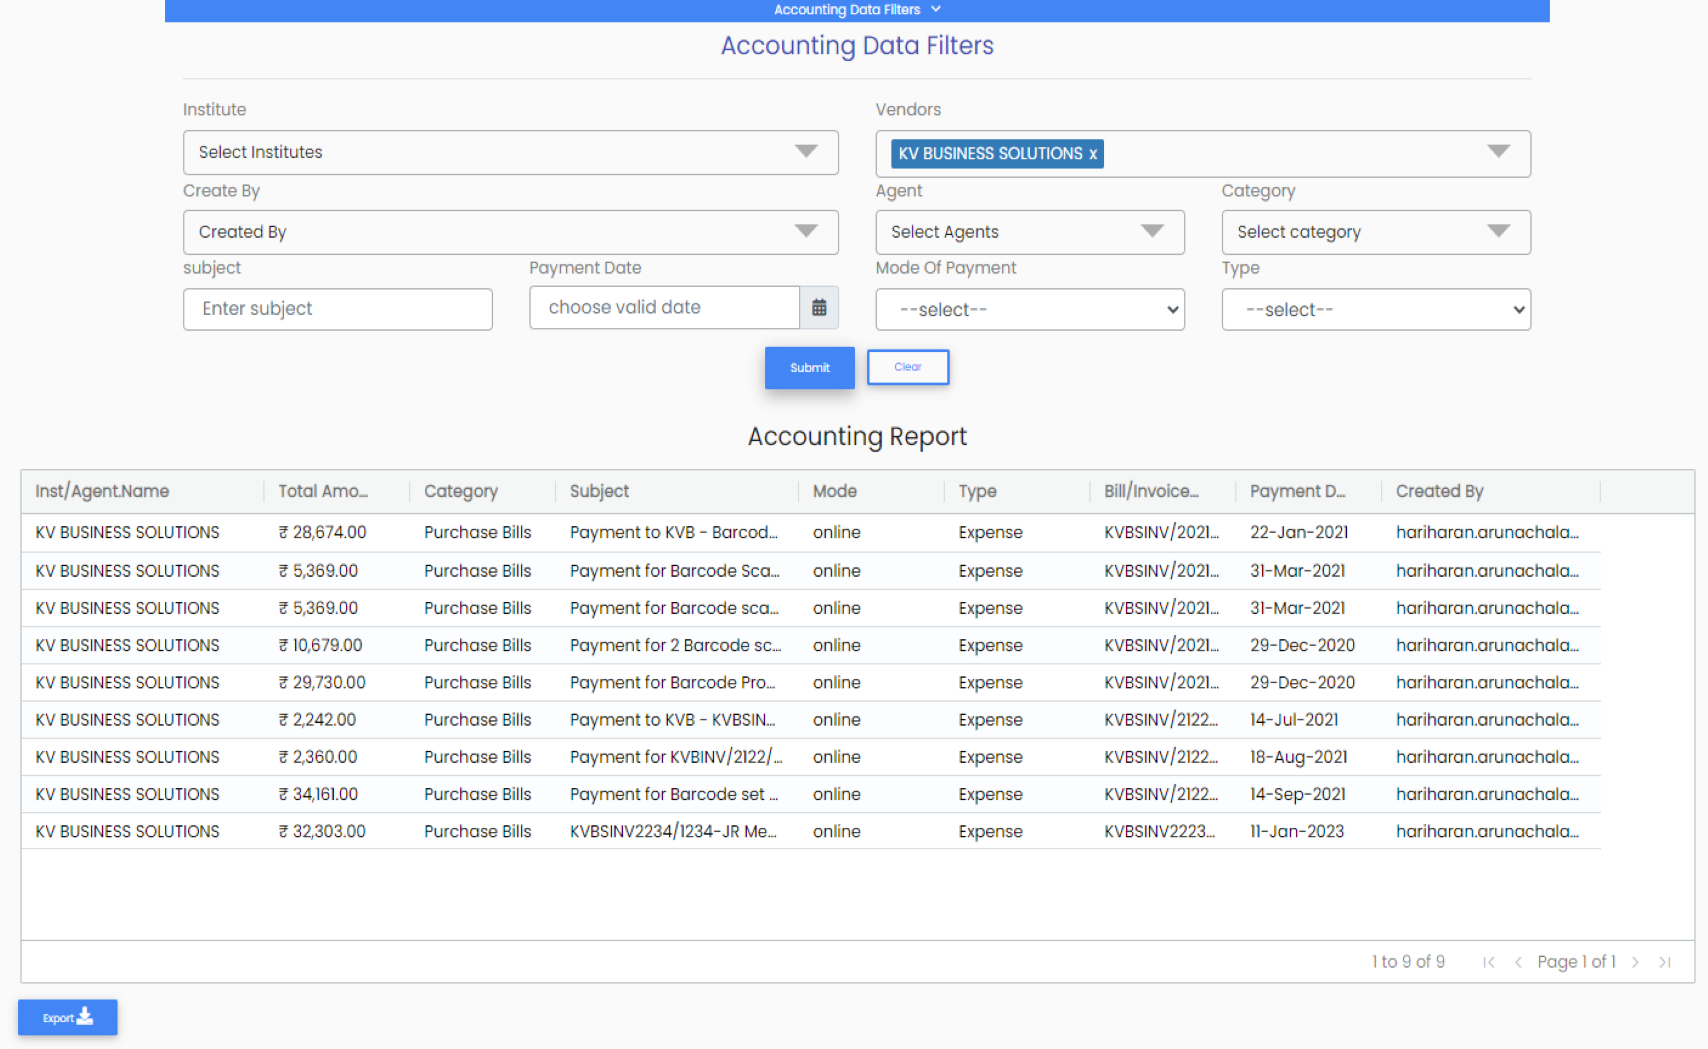
Dashboard Add Income and Expenditure Linking Bank Accounts Project Expense Ledger Reports

HR
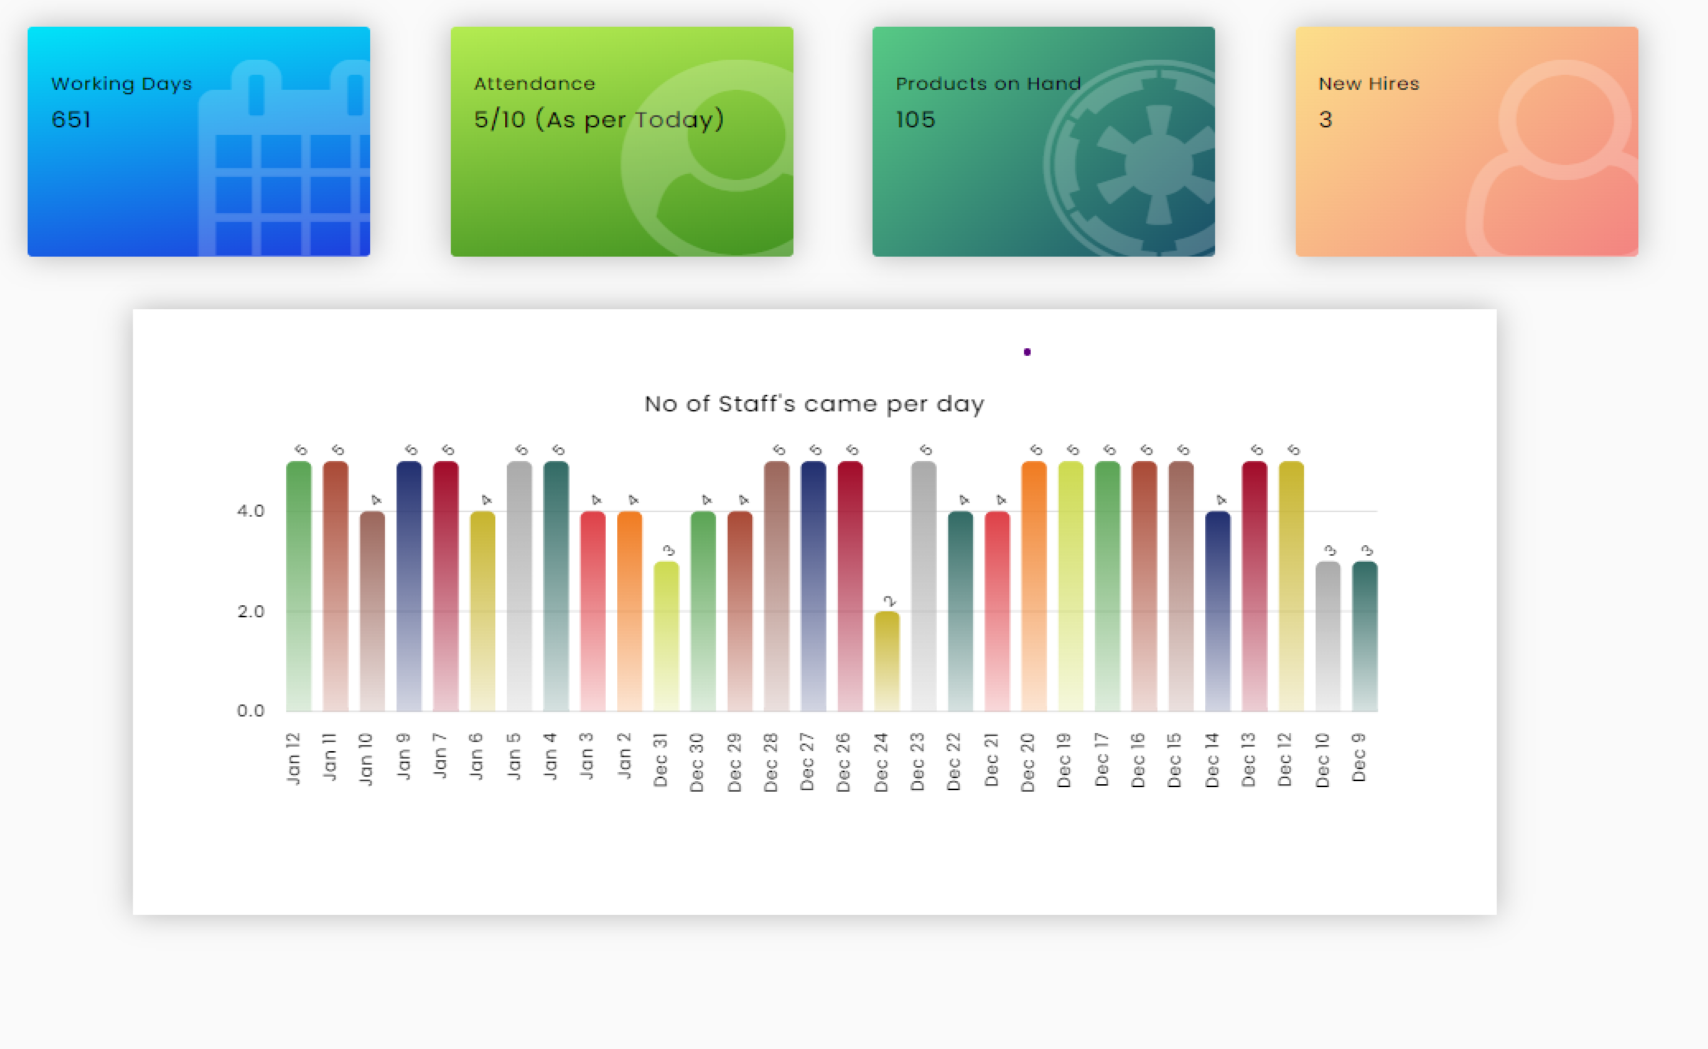
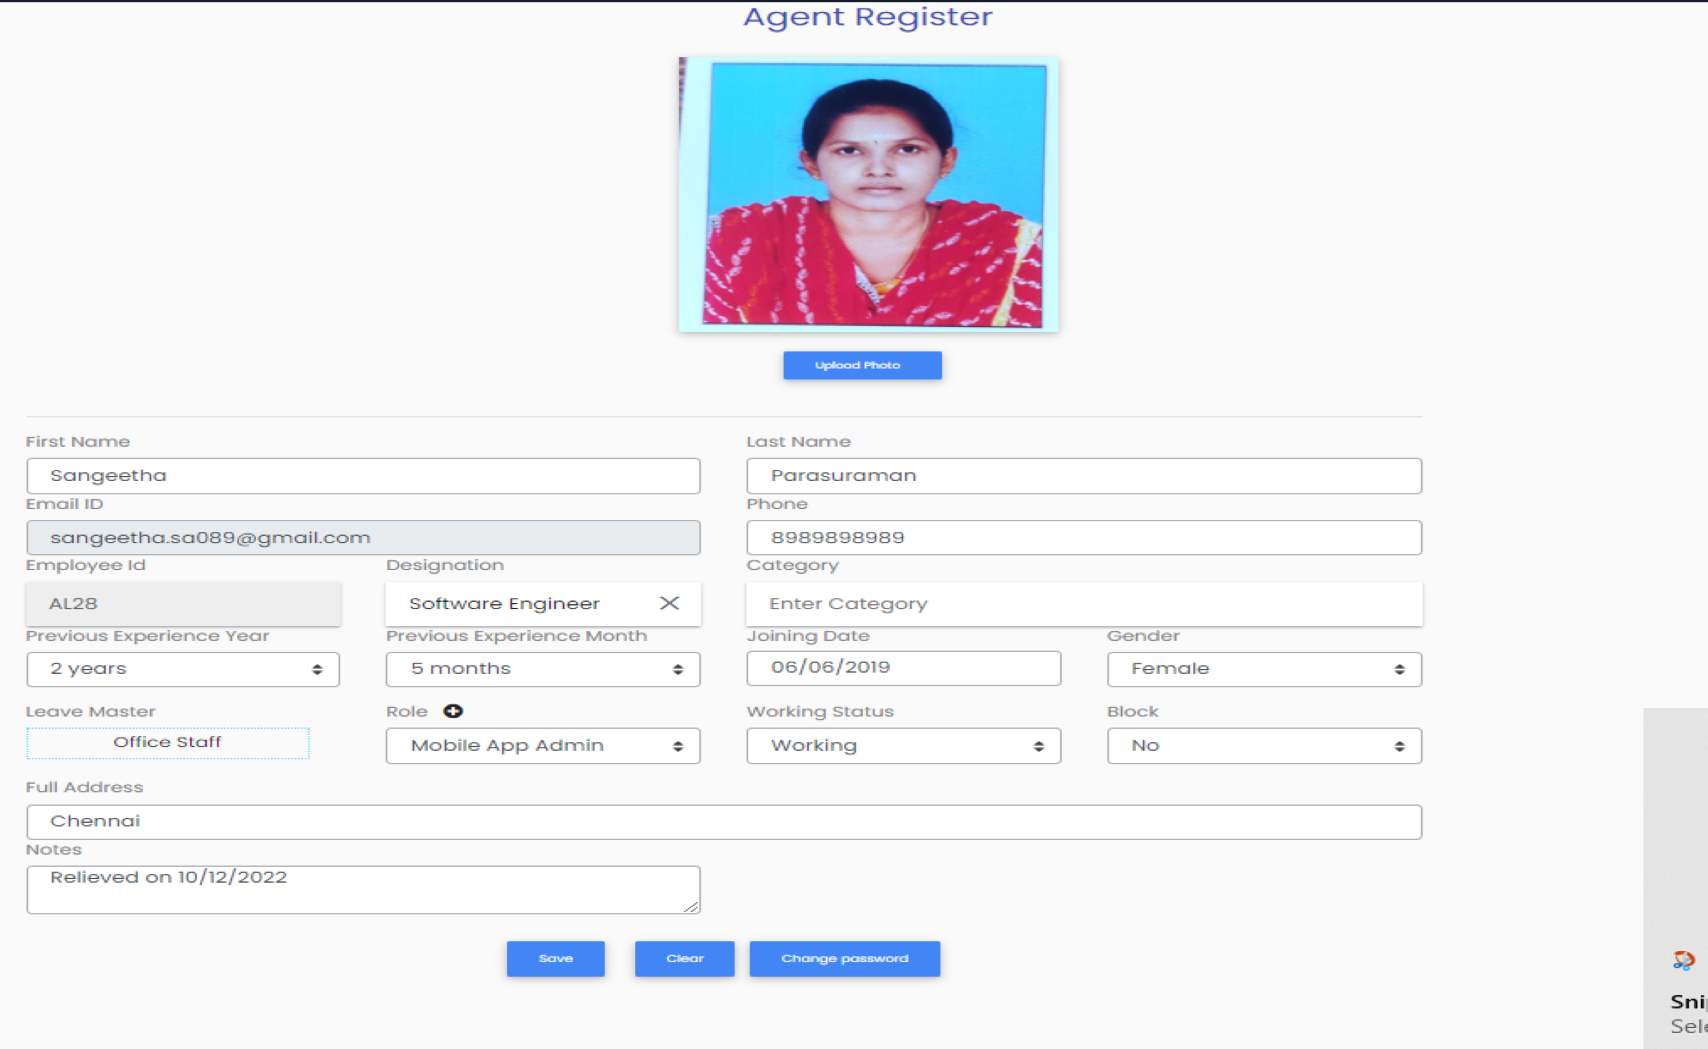
Agents Working Day Leave Settings Leave Reports Attendance Through App GPS Location based Attendance Biometrics Salary Payroll Pay Slip Reports Bank Statements
Frequently Asked Questions
Frequently Asked Questions
Ticketing
A ticket is a service request from a customer to a supplier.
You can visit the “Tickets” module and select “Ticket Reports.” The Ticket Report filter will be displayed. You can choose a particular employee, company, ticket creation date, etc. to get the desired ticket reports.
The customer has to login to the ‘Customer Ticketing Service’ portal and raise a ticket.
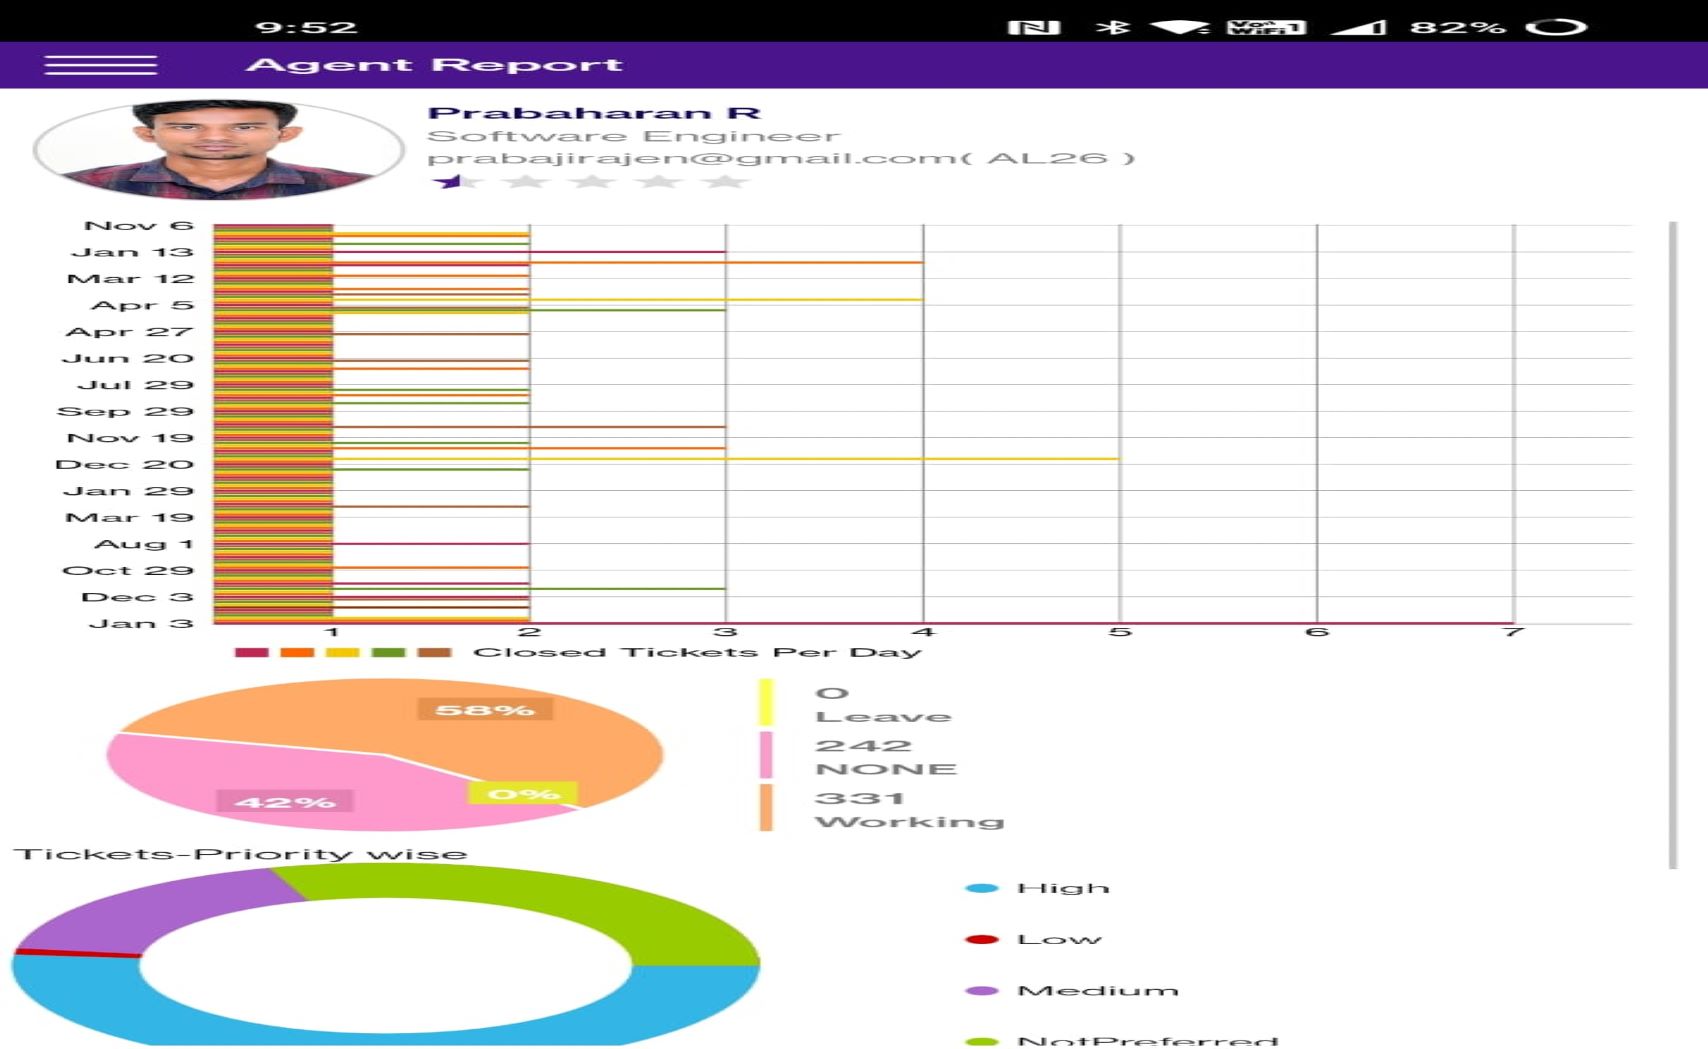
You can visit the “Report Module,” select “Agent Report,” and select an employee for whom you want to know the feedback.
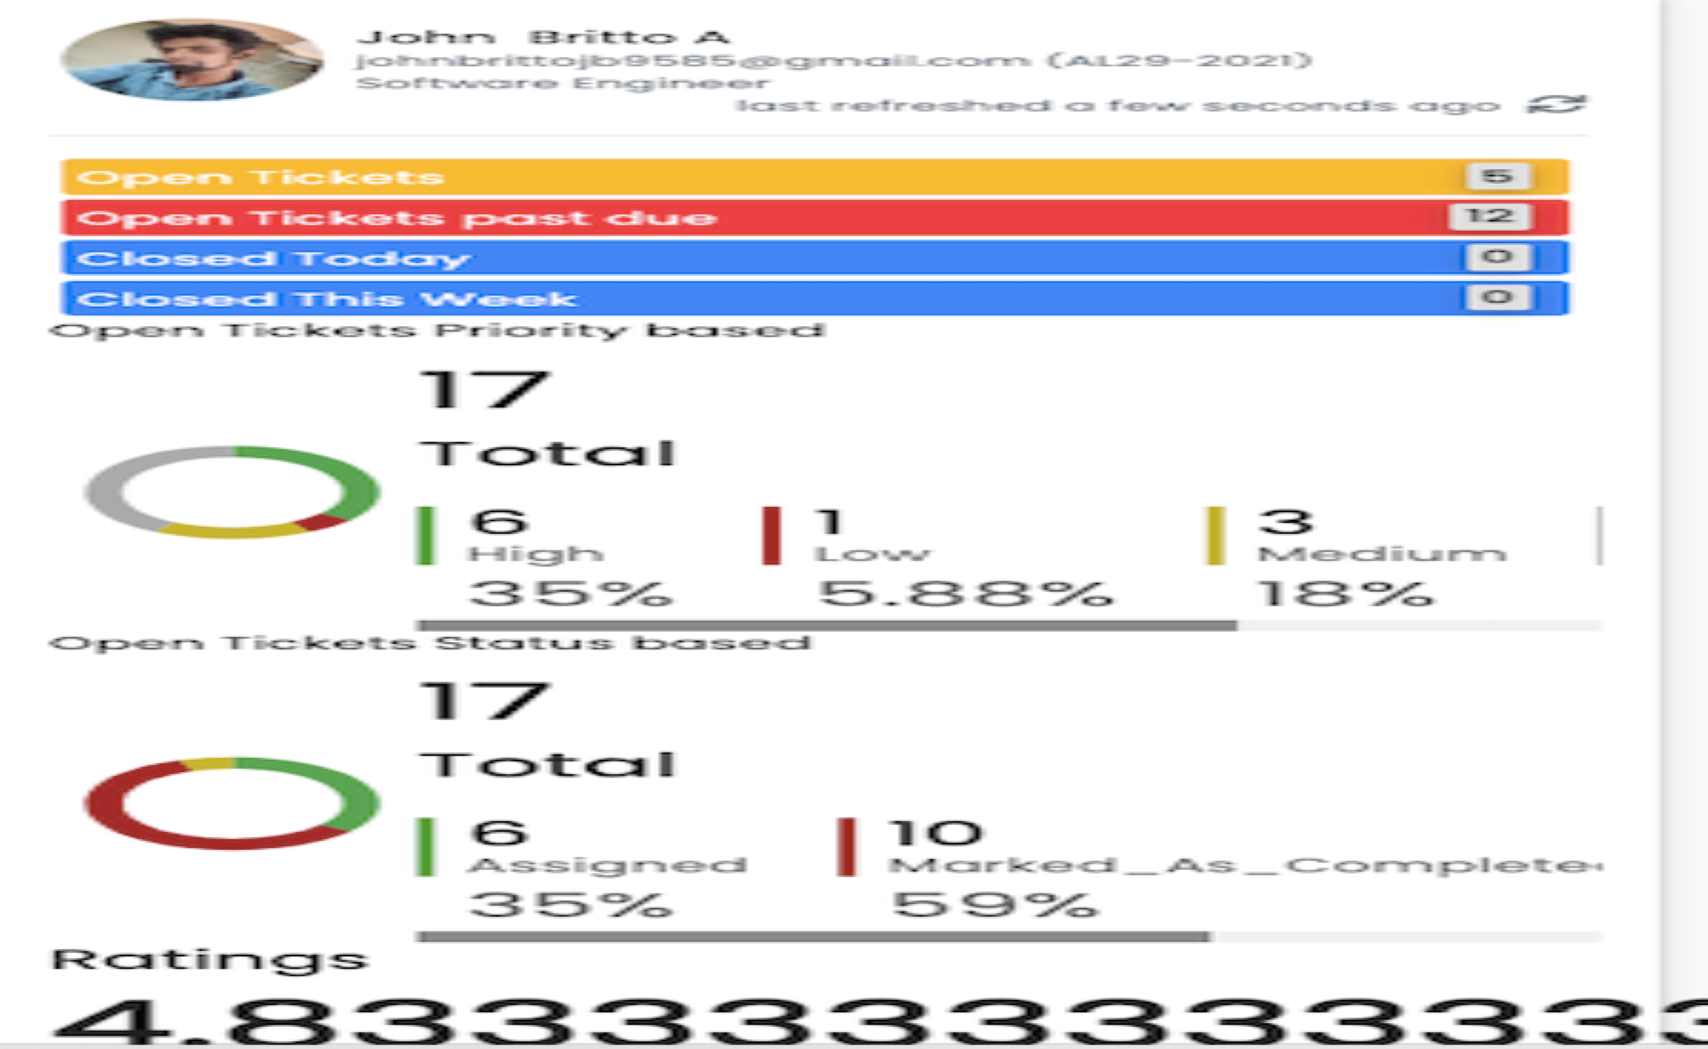
You can see it in the ticketing dashboard.
The Ticketing Dashboard provides a list of new service tickets received from your customers. You can see the list of new tickets by clicking the “Un-Assigned Tickets” link, choose a ticket, and assign it to any of your employees by fixing a date and time to complete the work
Accounting
Go to the “Accounts menu,” select “Project Expenses Ledger,” select the employee or agent, and add the advance payment paid to him and the purpose. The amount gets reflected when the employee logs in. Employees have to enter and maintain the expenses incurred under various headings, such as travel, accommodation, food, etc.
Go to the “Purchase Module” and then select the bill for which you have made payments and enter the payment details. The entry gets reflected in the Accounts Dashboard under Expenditure
Go to the “Sales Module” and select “Invoice.” On clicking it, you will find the “Invoice Filter Report” screen, wherein you can select the criteria to generate the reports, such as invoice number or invoice date, customer name, deal type, etc
Go to “Accounts Module” and select “Accounting Reports.” On clicking it, you will find the “Accounts Filter Report” screen, wherein you can select the criteria to generate the reports, such as the type of report (income or expense), the category under which the payment was made, the vendor name, the employee name, the payment date, etc
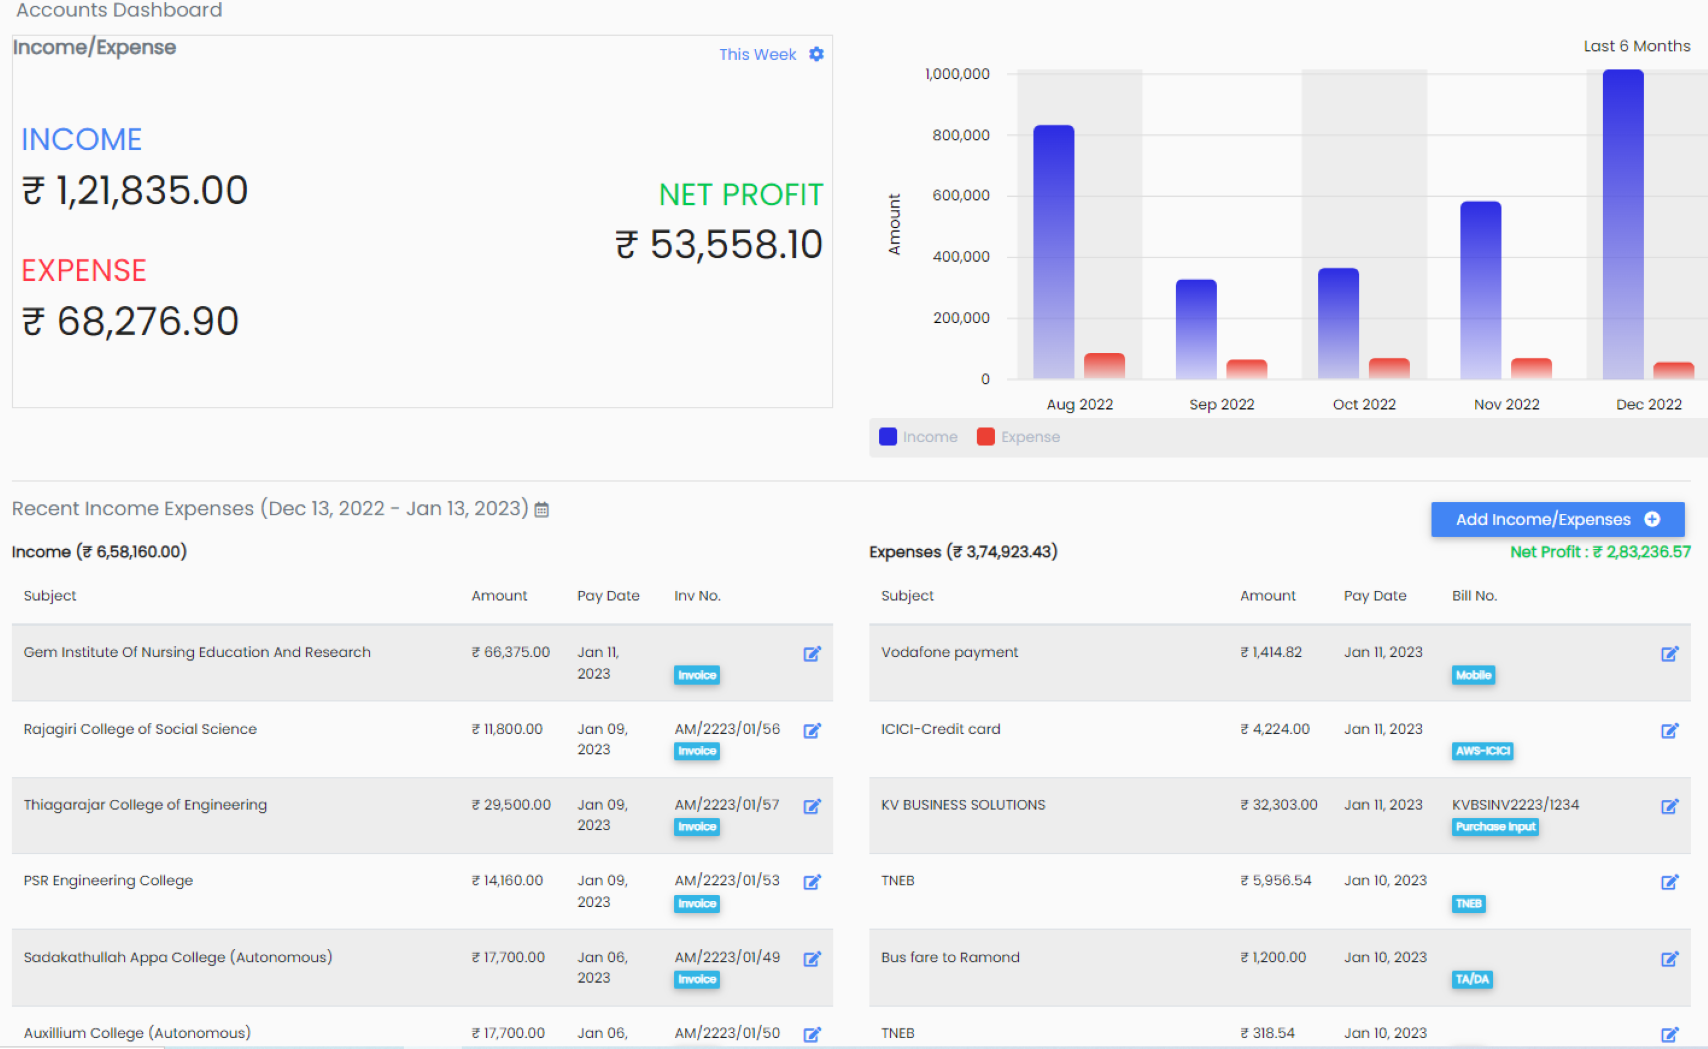
Go to the Accounts Dashboard, click “Add Income and Expenses +” and enter the expenses incurred, such as date, amount, to whom you made payment, category or heading under which the payment was made, mode of payment, and other payment details
Go to the “Accounts Dashboard” and click the date icon given under the heading “Recent Income and Expenditure” and set the starting and ending dates you want to see the income and expenditure for that period
HR
Log in to your Aartal ERP App using your authorised ID and password. After logging in, you will see the message, “Are you working today?” If you select “Yes,” your attendance will be recorded. The date, time, and location of your attendance [using GPS] will be captured by the app
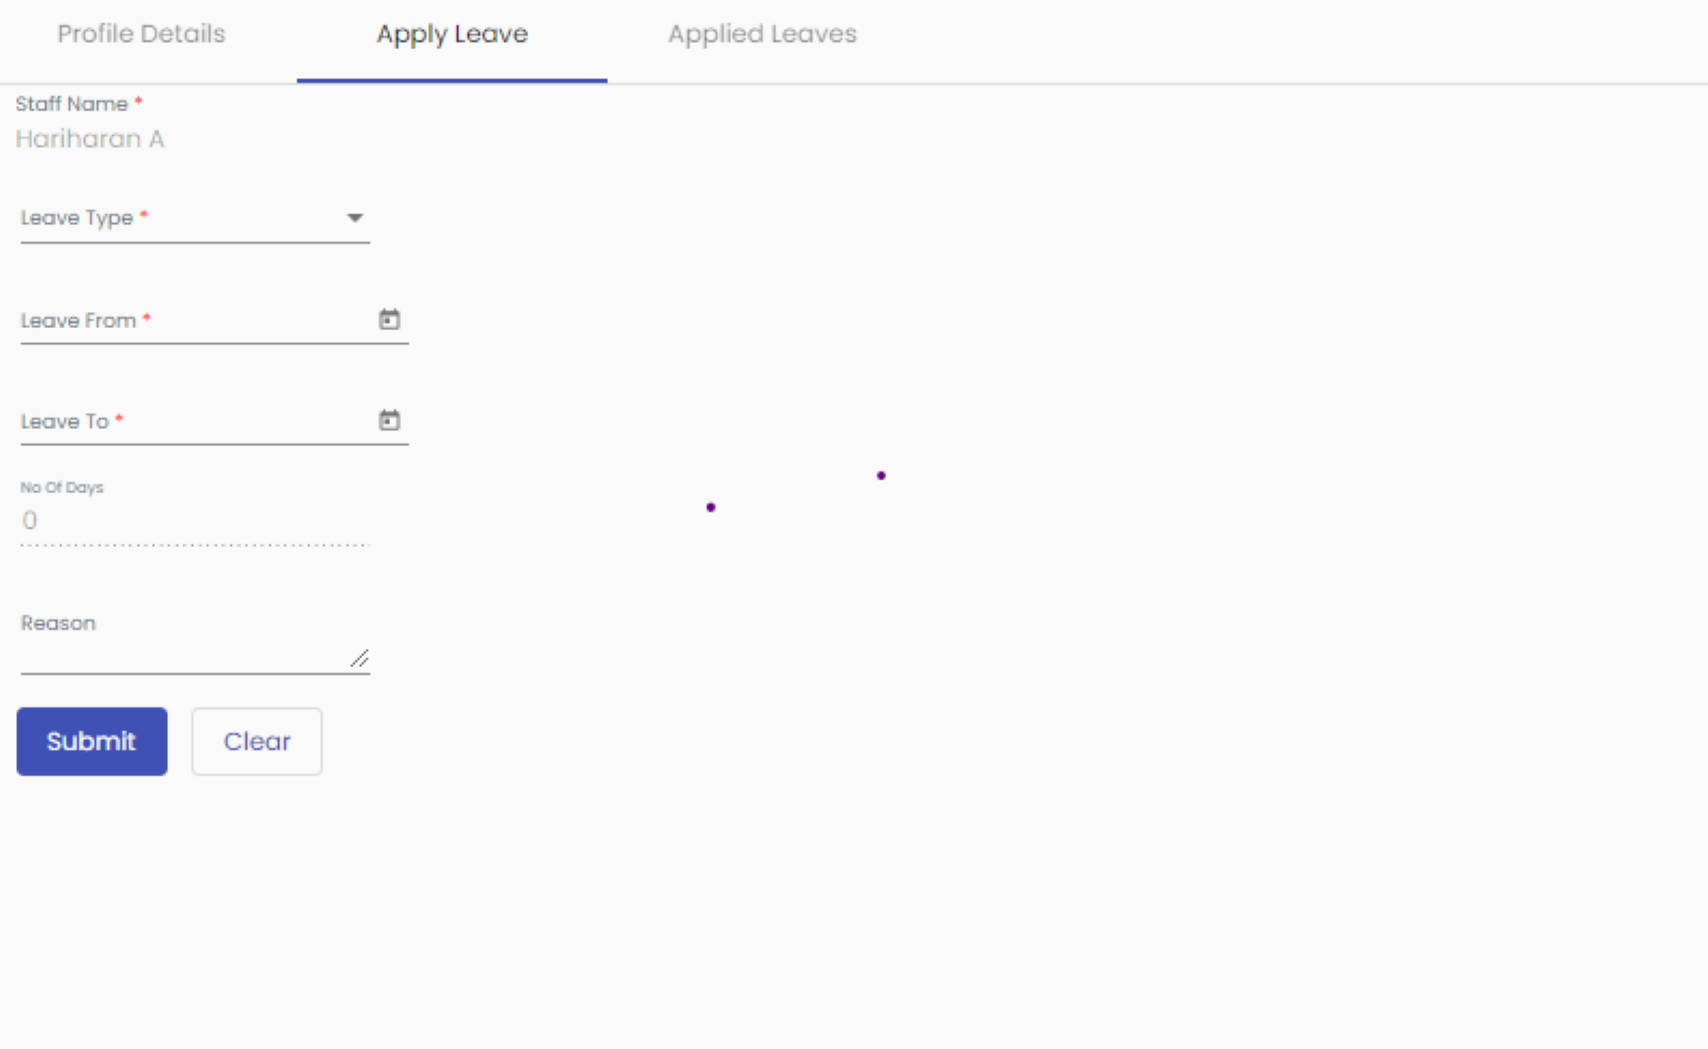
Log in to your Aartal ERP app or the web portal using your authorised ID and password. After logging in, click your profile in the top left corner, and you will get the “Apply Leave” form. You can now select the leave type [casual, sick, or permission] and select the starting and ending dates you want to apply leave for, give the reason, and submit. Your request will be sent by mail to your team leader, who has to approve it
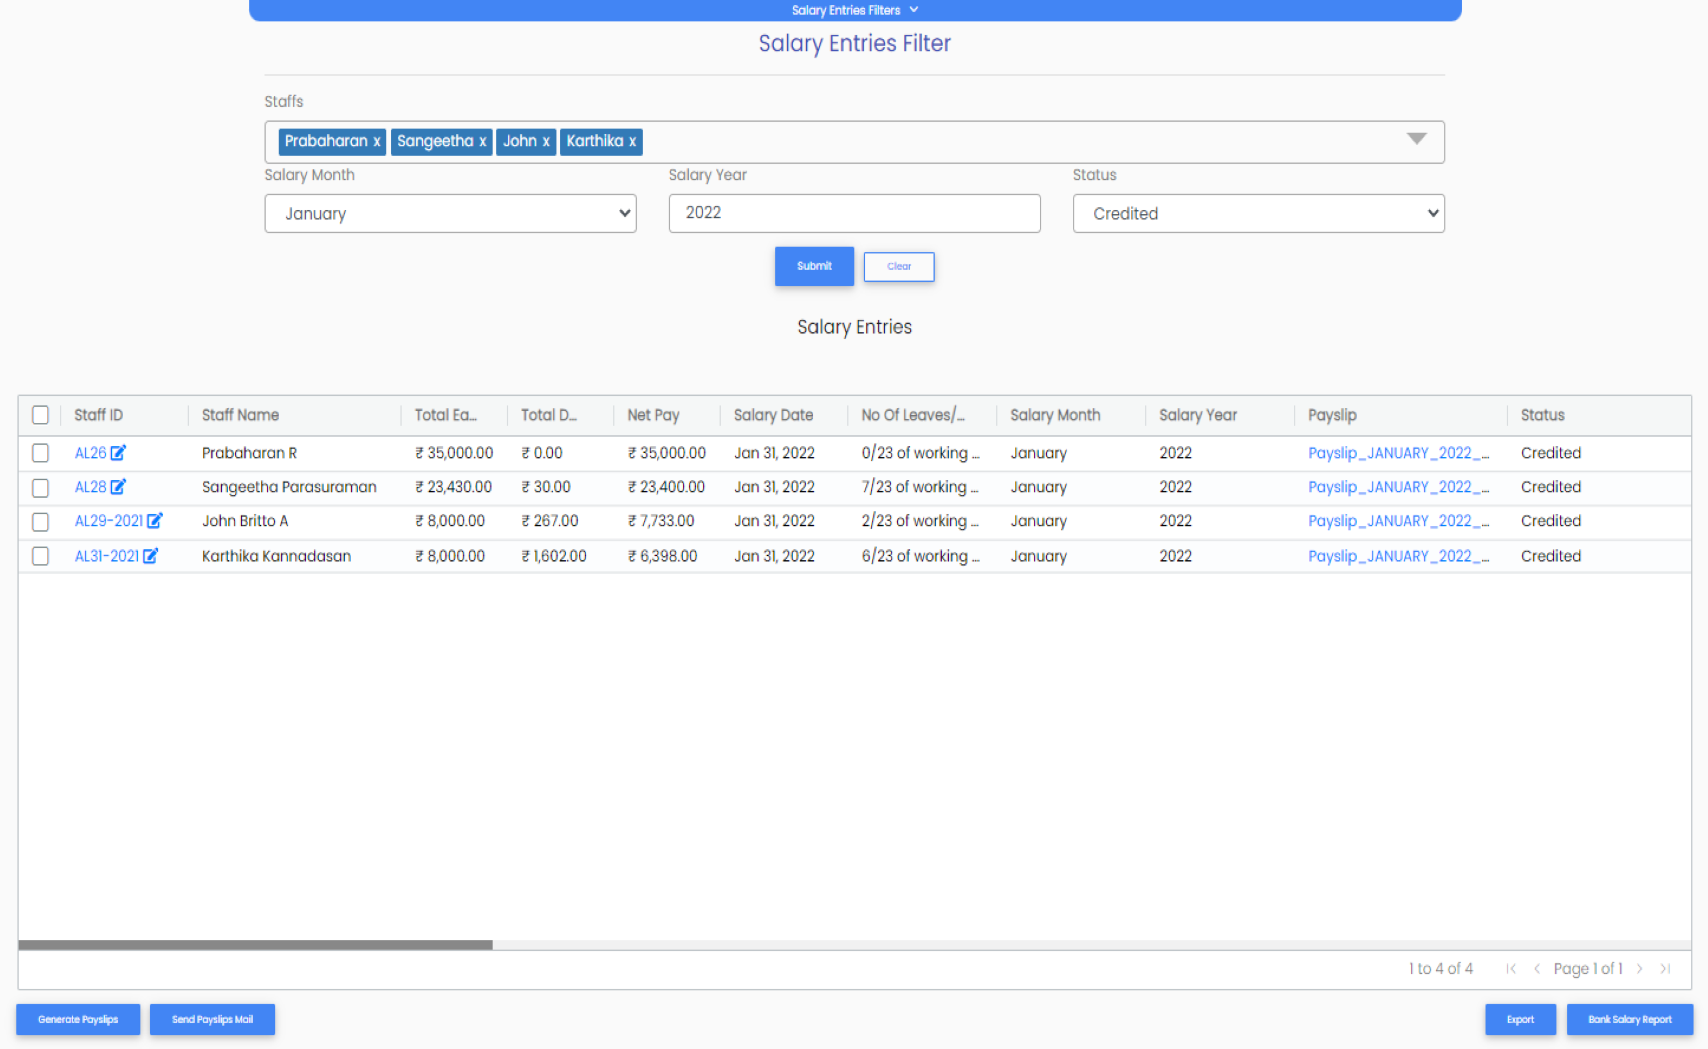
Go to the “HR” module and click “Salary Entries” under the “Salary” sub-module. When you click it, you’ll be taken to another screen where you can view employee salary information. You can select the employees in the list, select the month, year, and date of salary credit, and then press Generate
Go to the “HR Module” and select the sub-module “Leave Management.” A button labelled “+ Create Leave Master” can be found in the upper right corner. After clicking the button, you will get a screen where you can define your leave policy. You can create a leave category by giving it a name [for example, “Leave for Service Engineers”] and giving the number of days entitled to take leave for each type of leave such as casual leave, earned leave, sick leave, annual privilege leave, etc. for that leave category.
Go to the “Admin Module” and click “Generate Working Days.” On clicking it, you will get a screen where you are asked to first tick “exclude Saturday” and “exclude Sunday” [tick Saturday, Sunday, or both days based on your company’s holiday policy] and then select the starting date and ending date of the year in the calendar icon given and click “add working days.” The working days will be generated automatically, excluding Saturday and Sunday (if you tick both). In the list of working days, you can now add the dates of all the closed holidays in a year and save them.
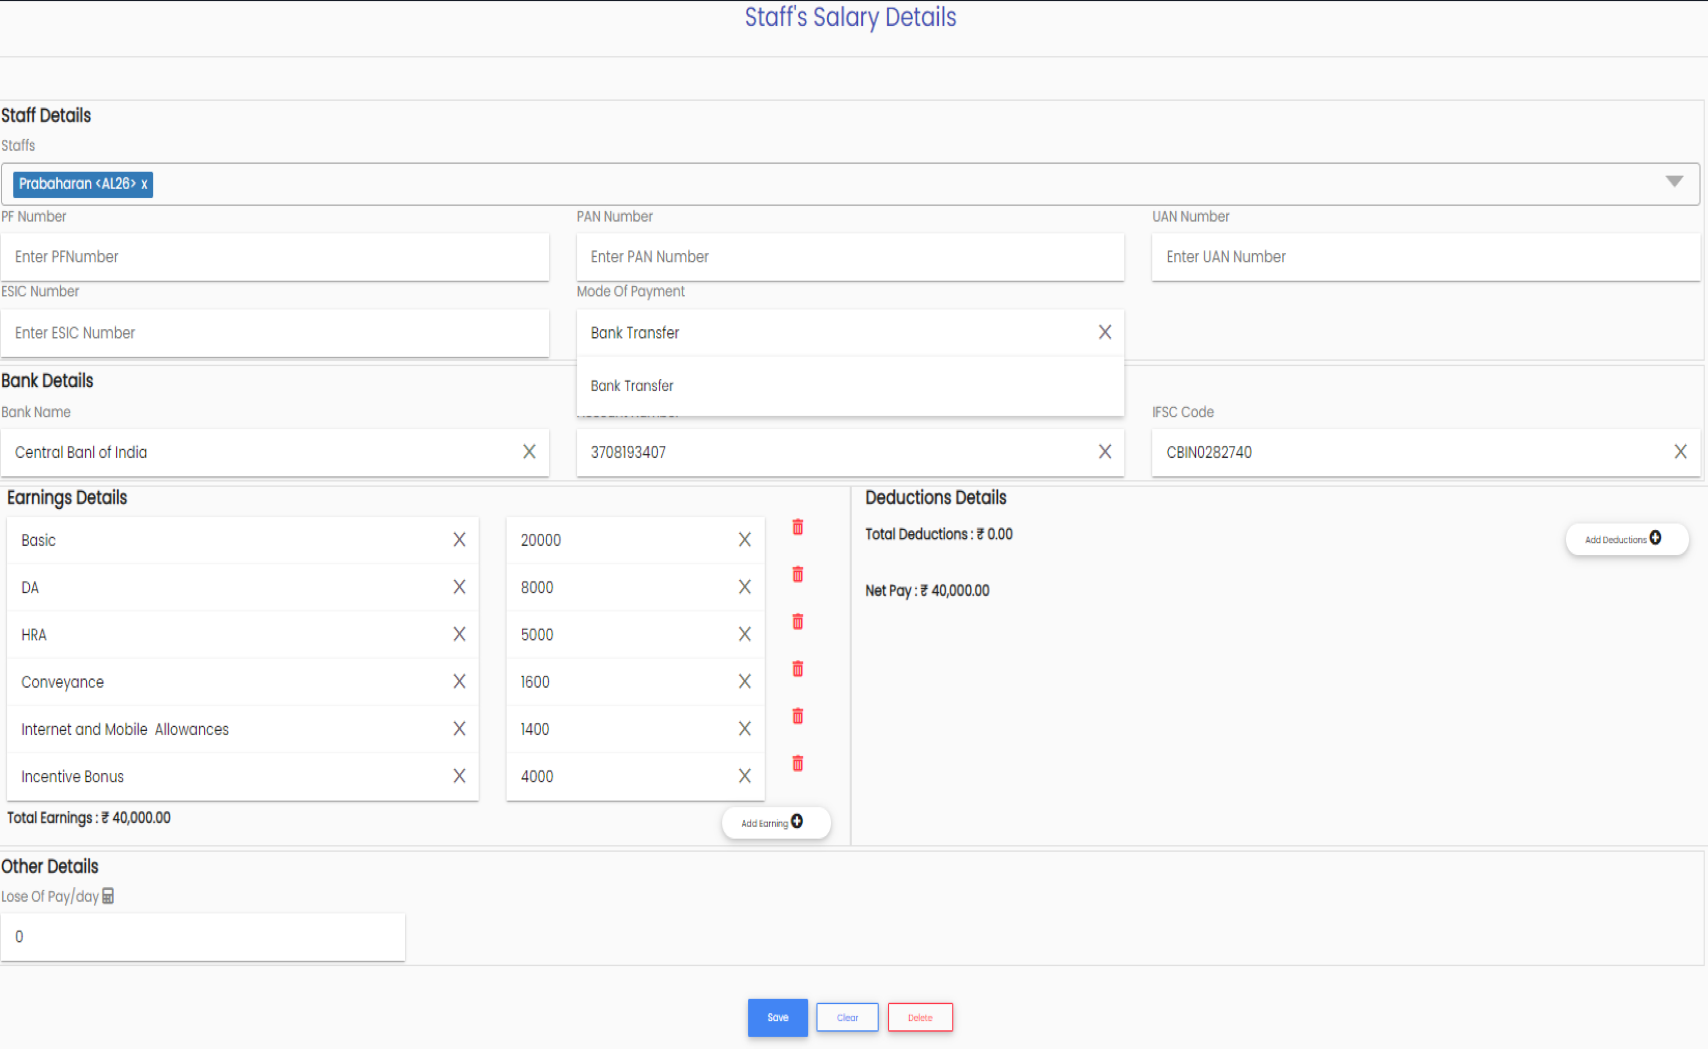
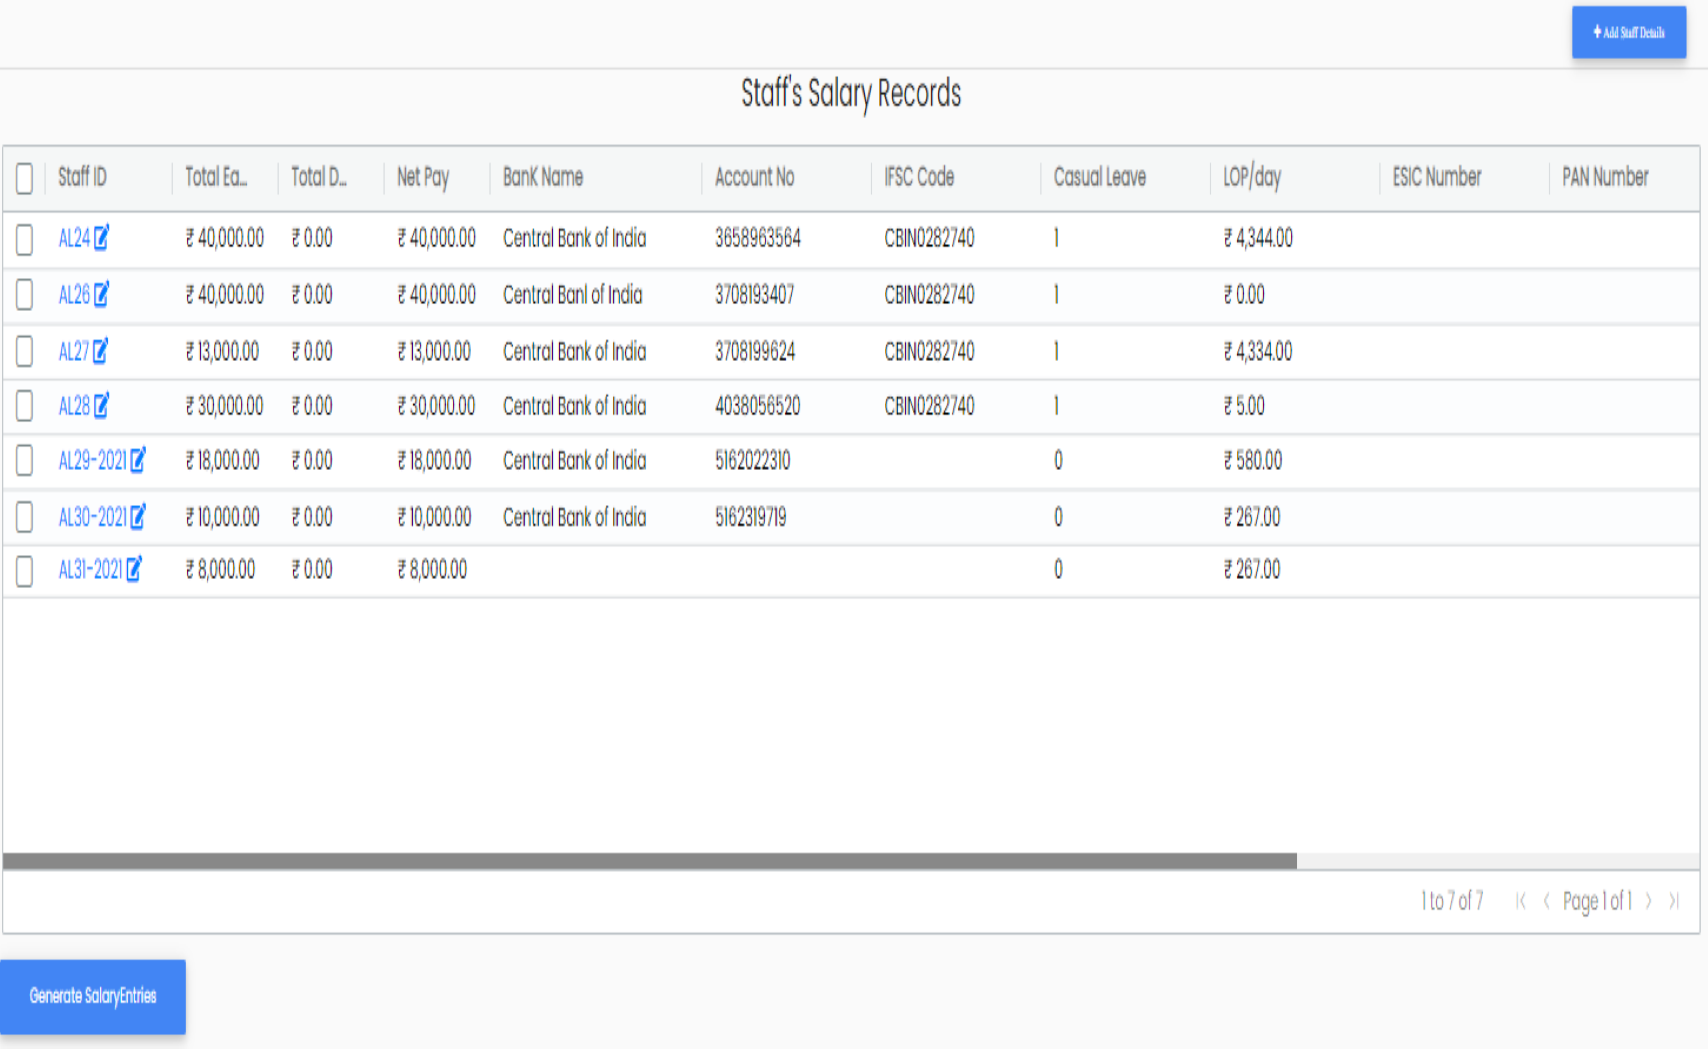
Go to the “HR” module and click “Salary Details” under the “Salary” sub-module. When you click it, you’ll be taken to another screen with “Add Staff Details” in the top right corner. Click “Add Staff Details,” select the employee from the list, and enter the bank account and other details of the employee, such as the name of the bank, account number, IFSC code, etc. Enter the pay particulars and amount, such as basic, DA, HRA, travel, allowance, incentive, and so on, in the left side of the form after providing the account information. Enter the salary deductions on the right side of the form.
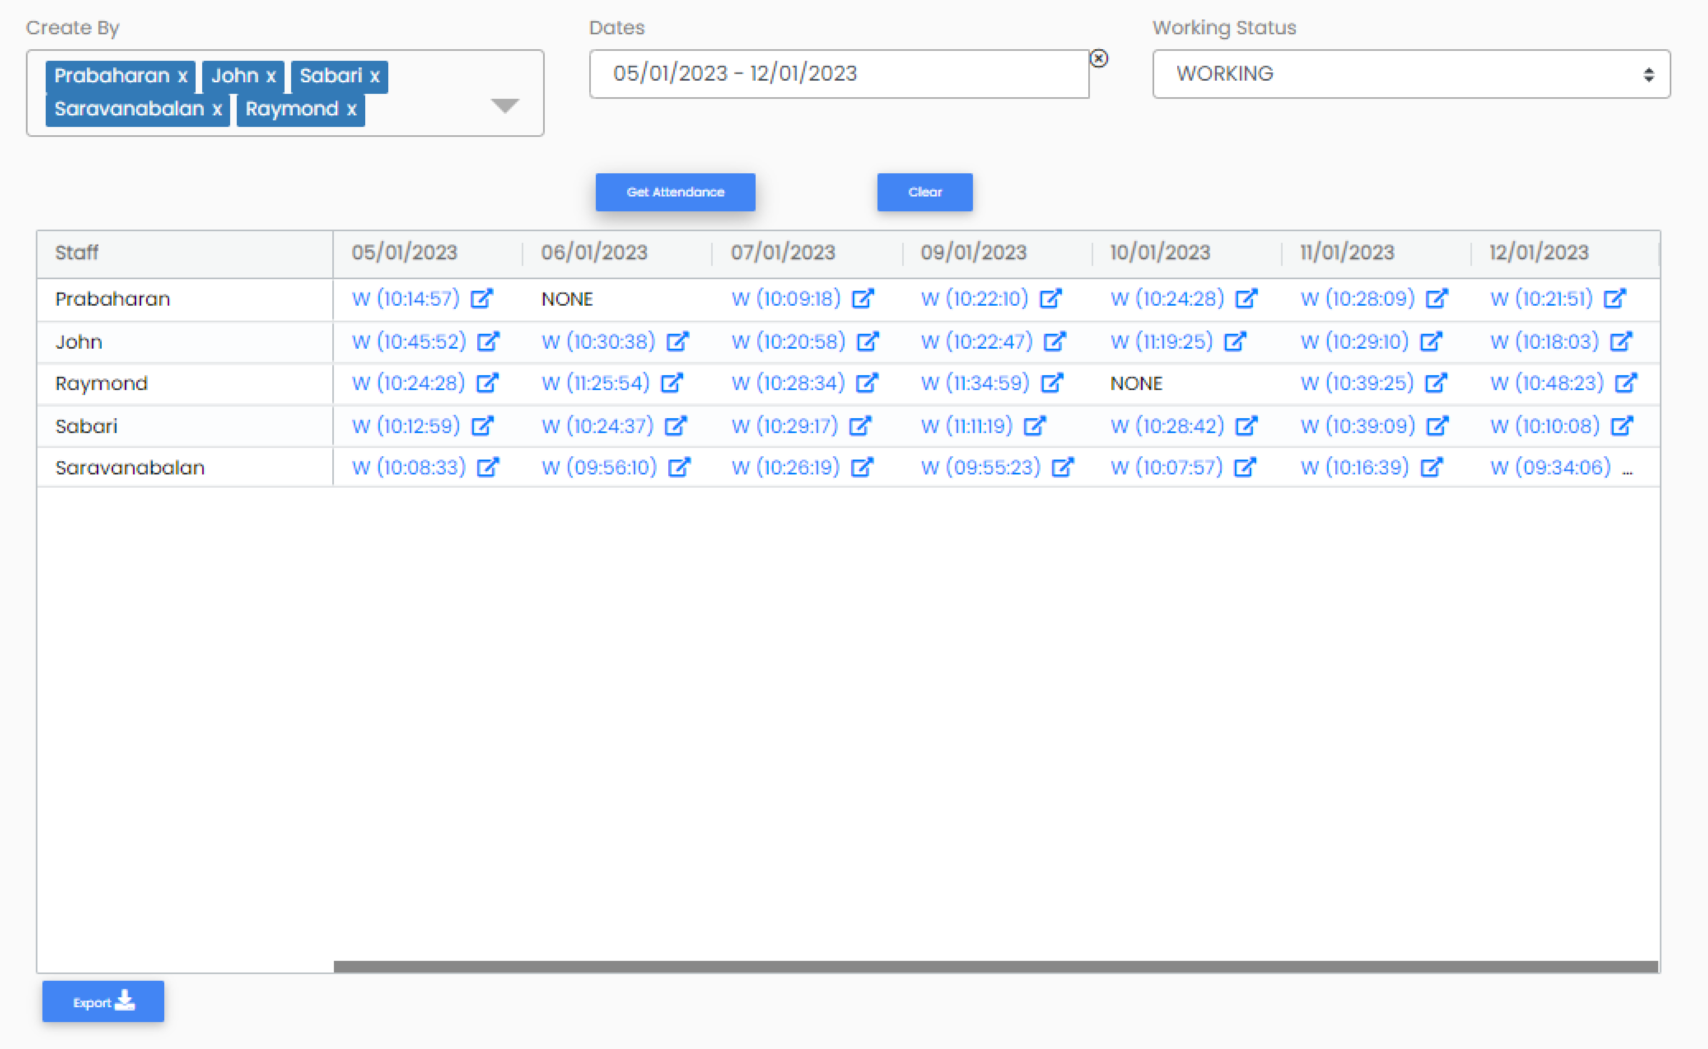
Go to “Admin Module,” select “Attendance Report,” and then select a date. You will get the attendance entered by all your employees. When you click the geolocation navigation recorded for a specific employee, you will be taken to the Google map location where your employee marked his or her attendance

