Highlights of Standard Modules
Standard Modules

Admin
Set-up Company Details Agents Role

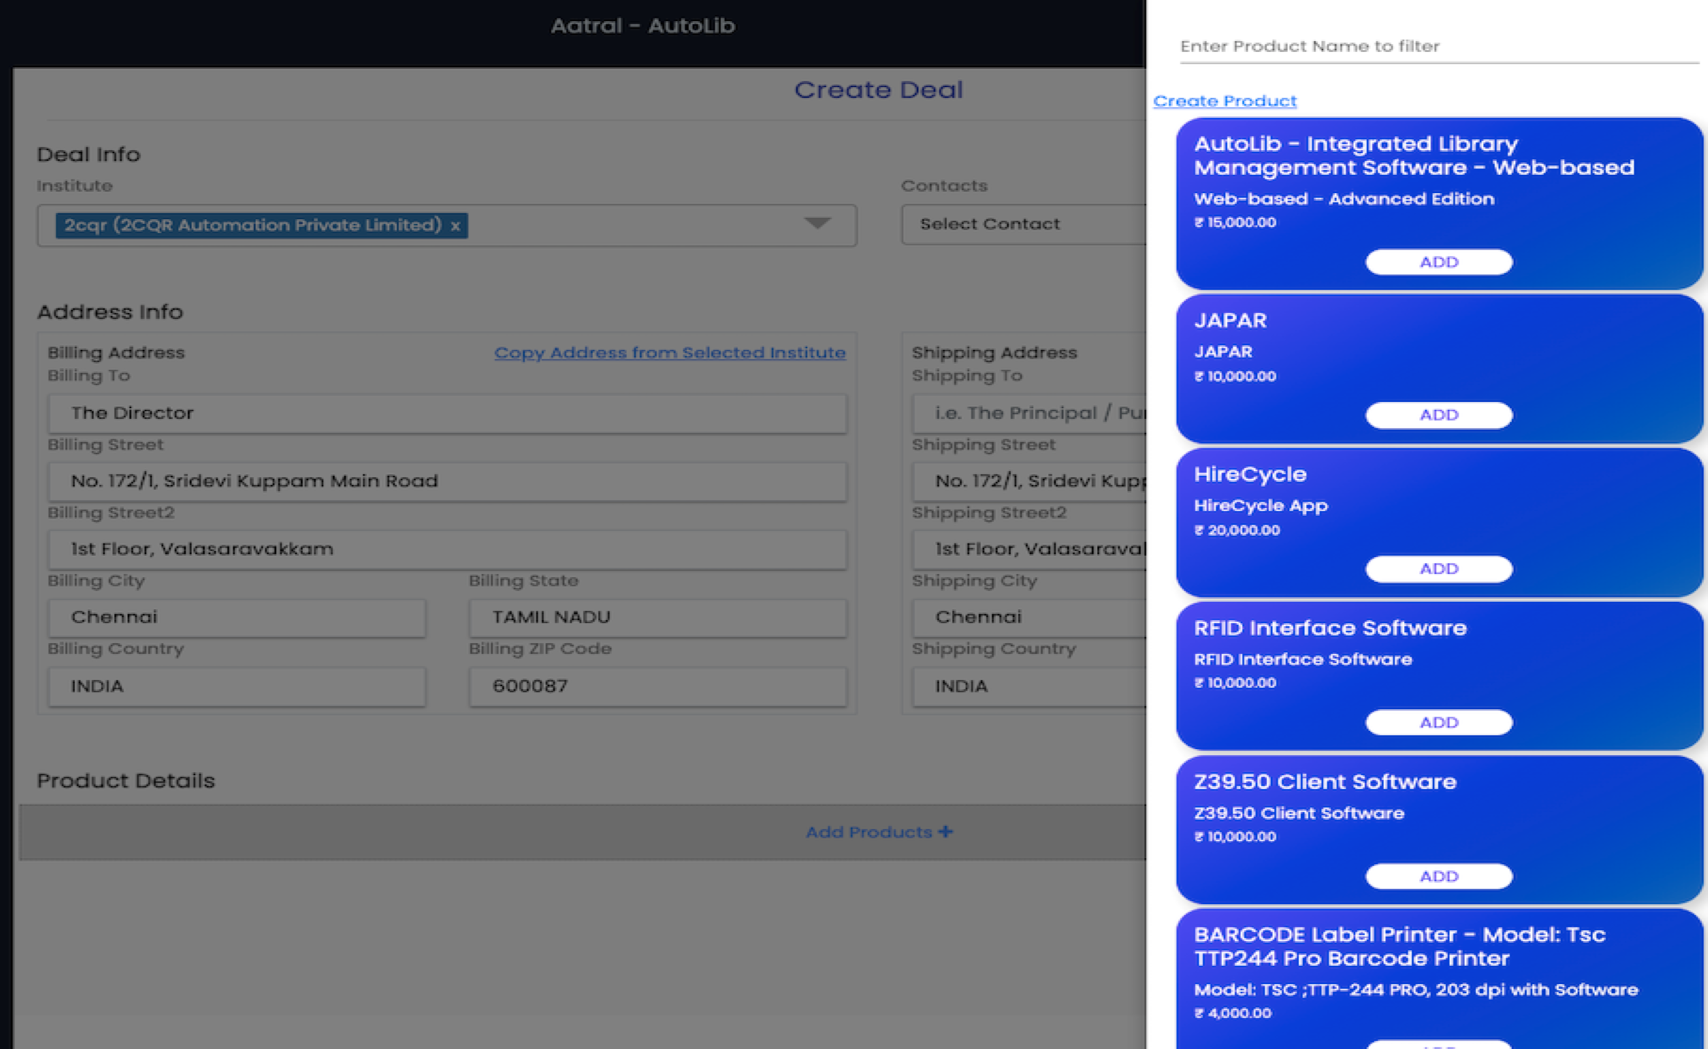
Products
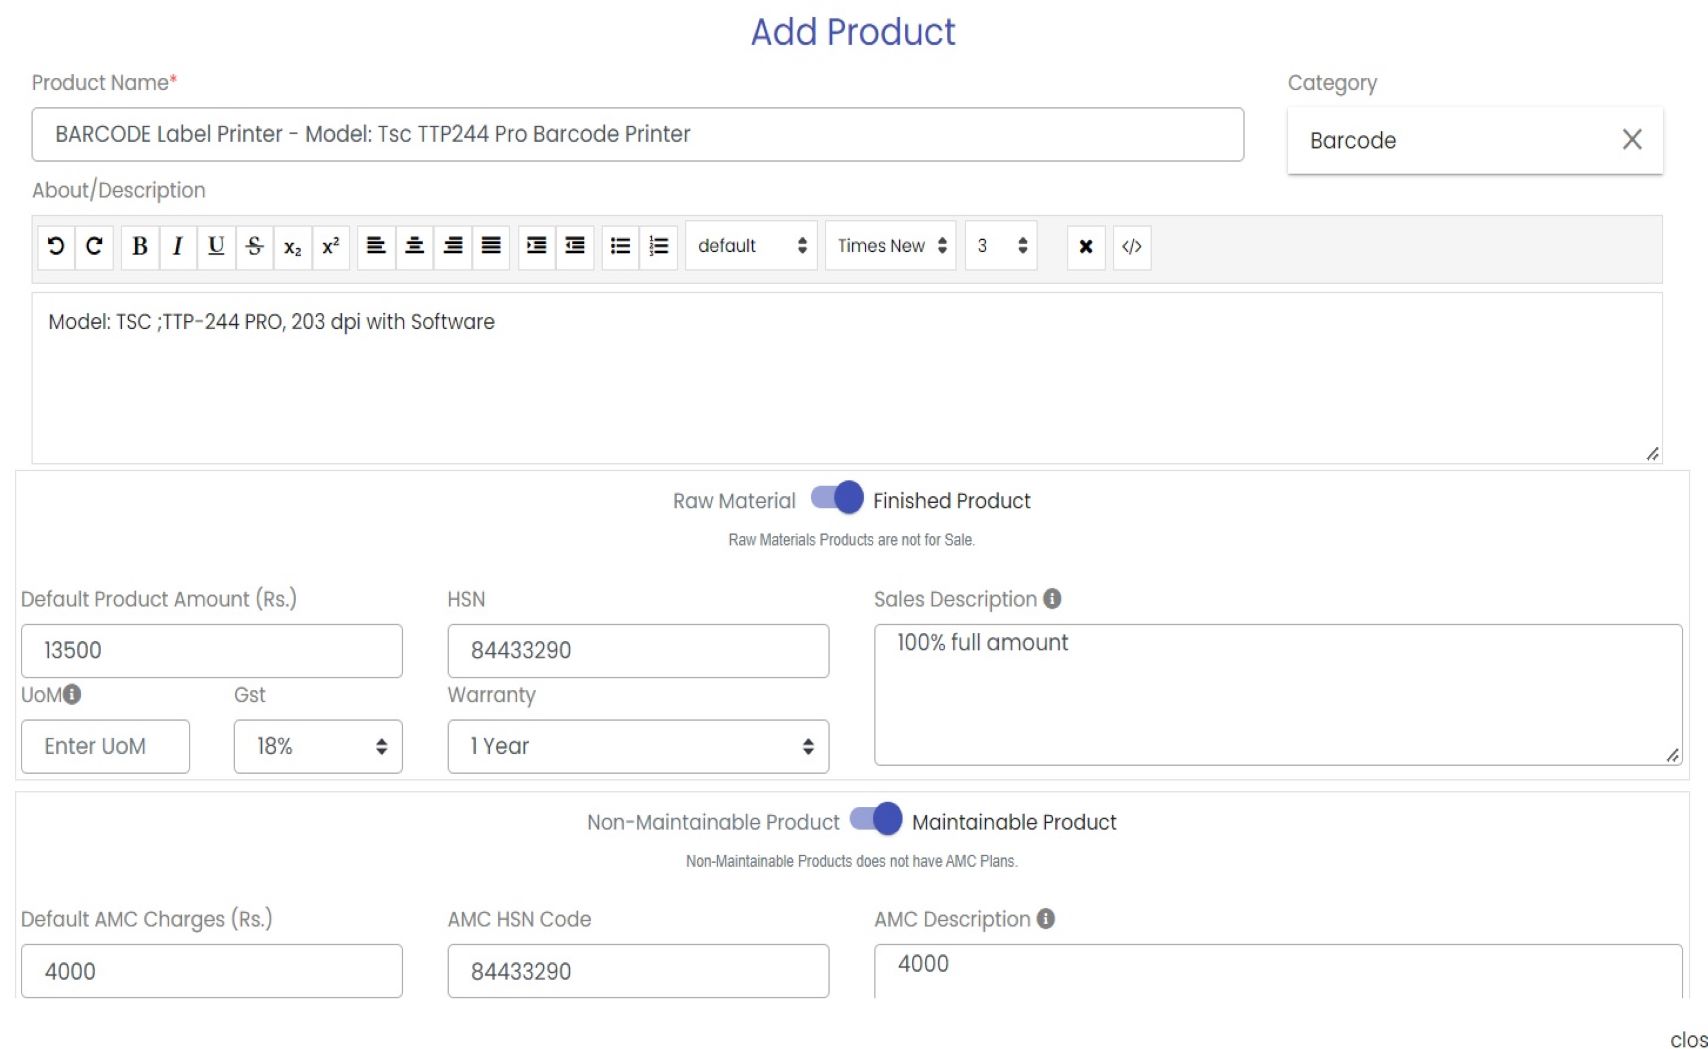
Product Description Stock Warranty AMC

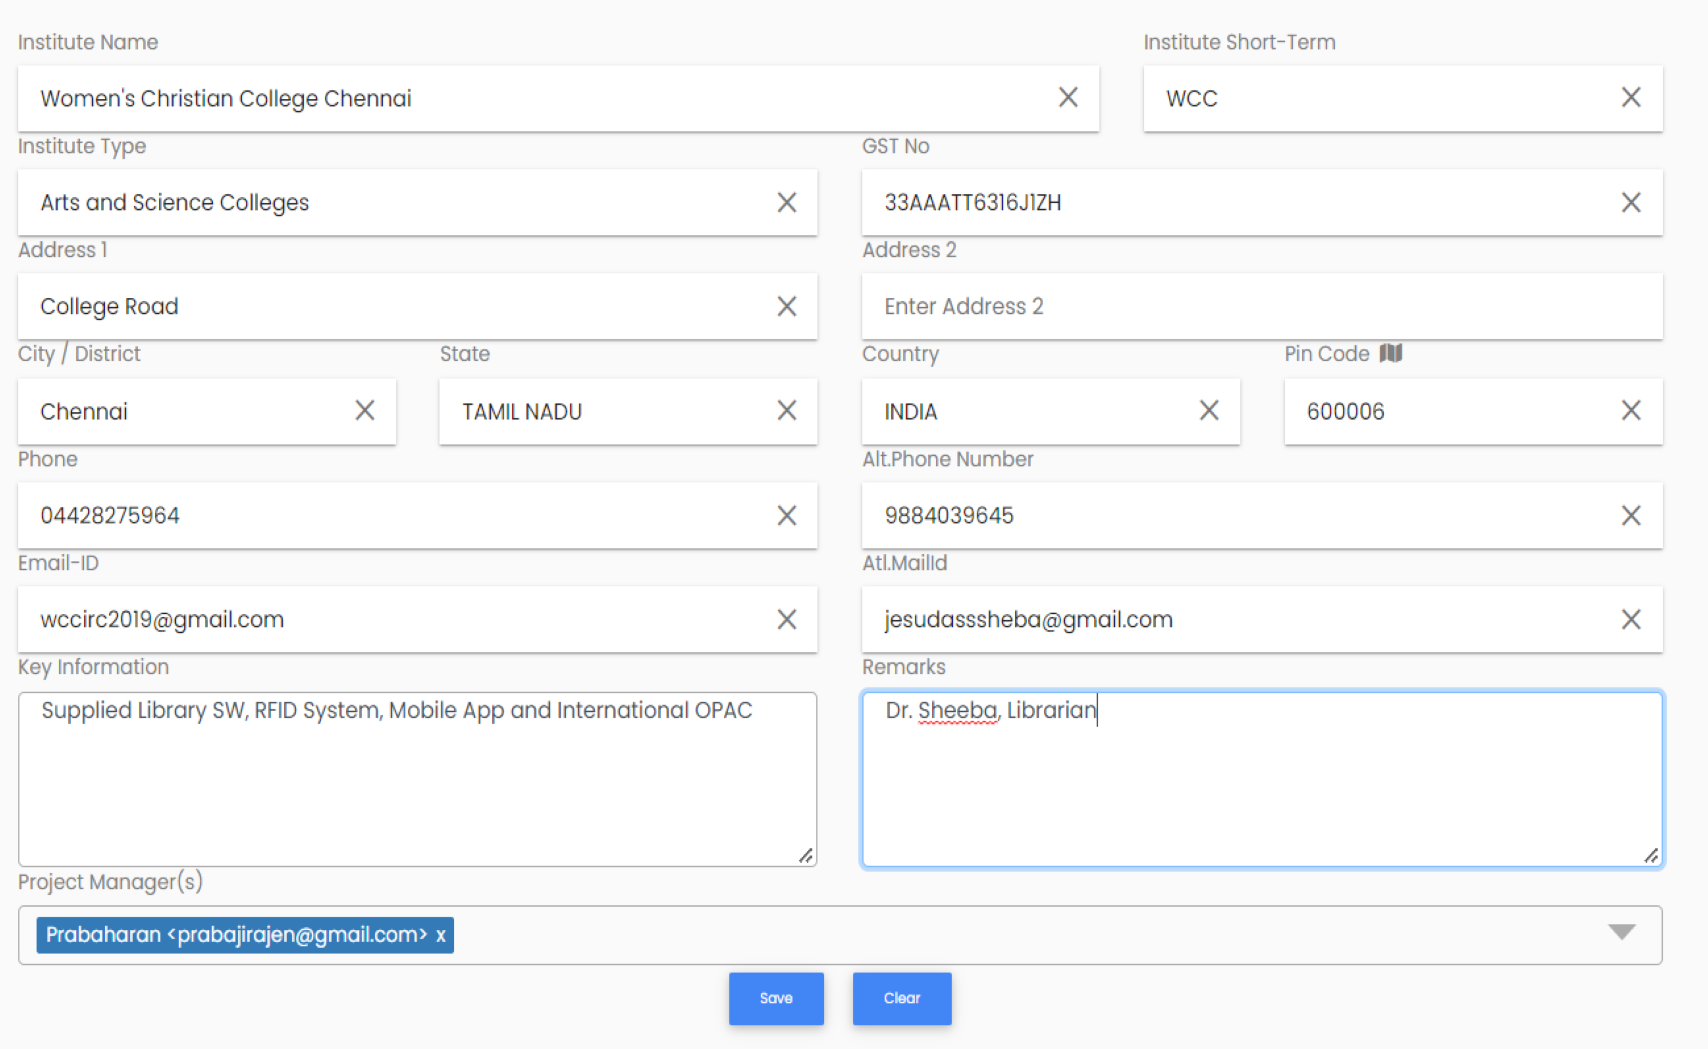
Customer
Customer Profile Contact Details Project in-charge Add Customer list from Excel

Vendor
Vendor Profile Contact Details

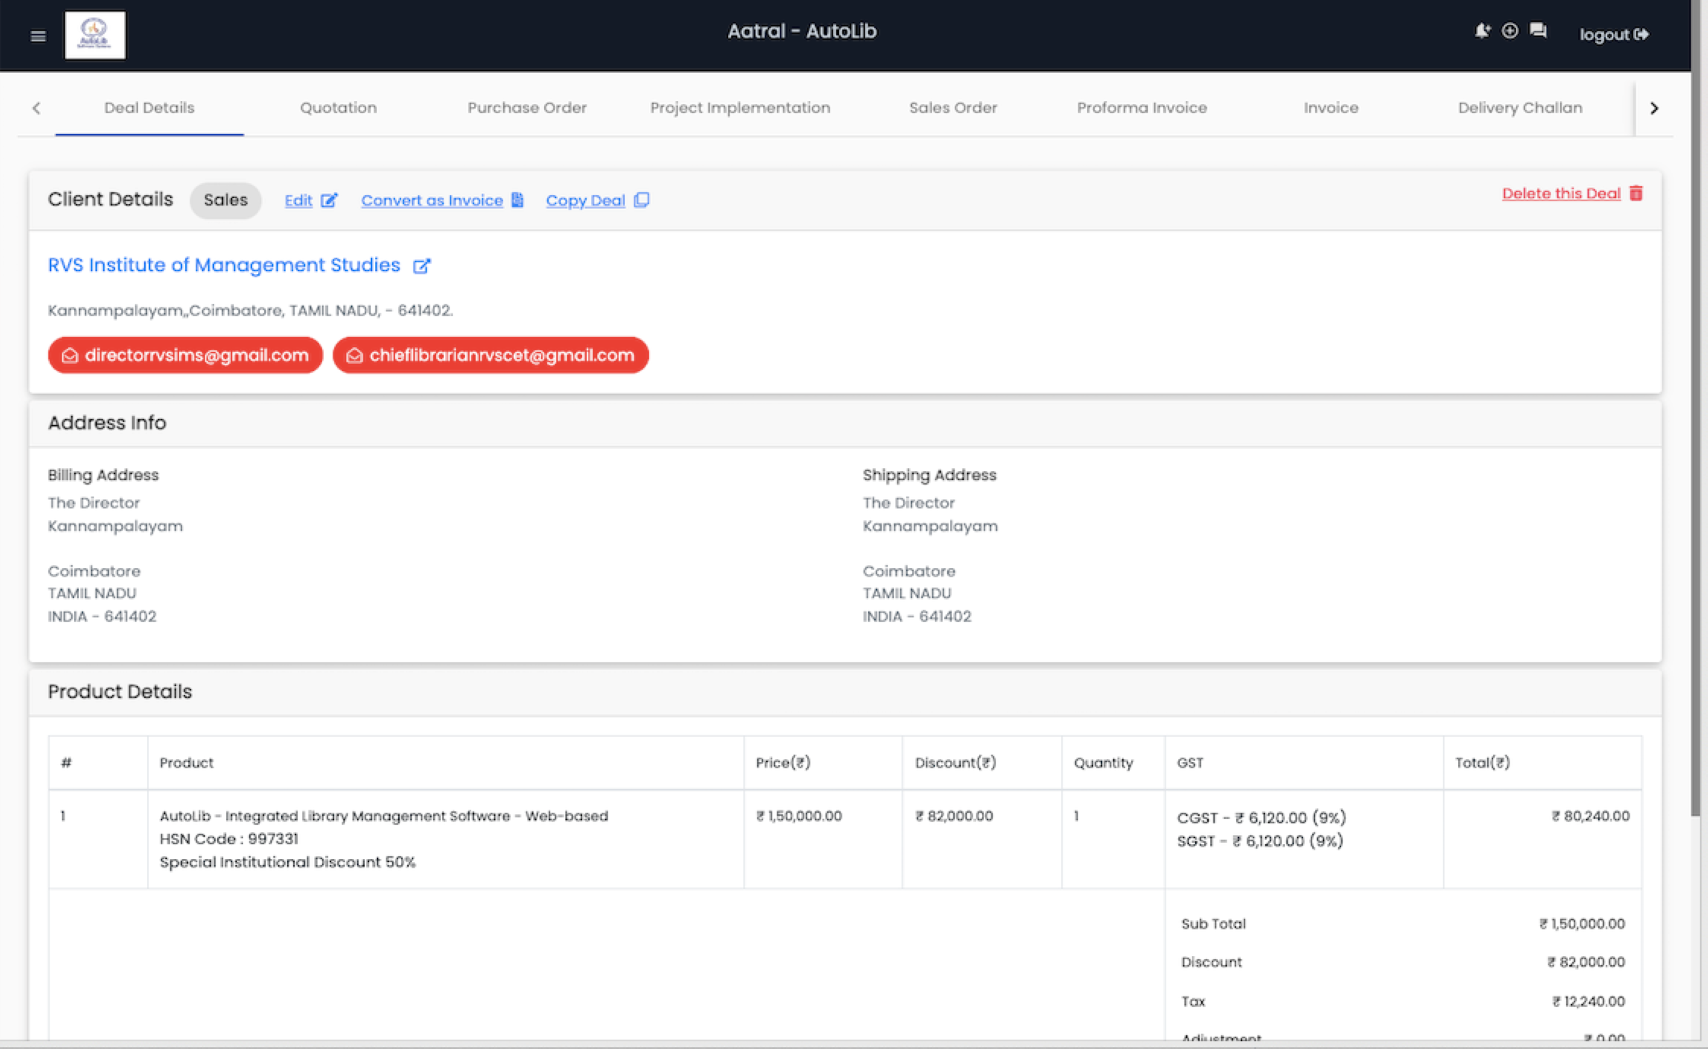
Sales
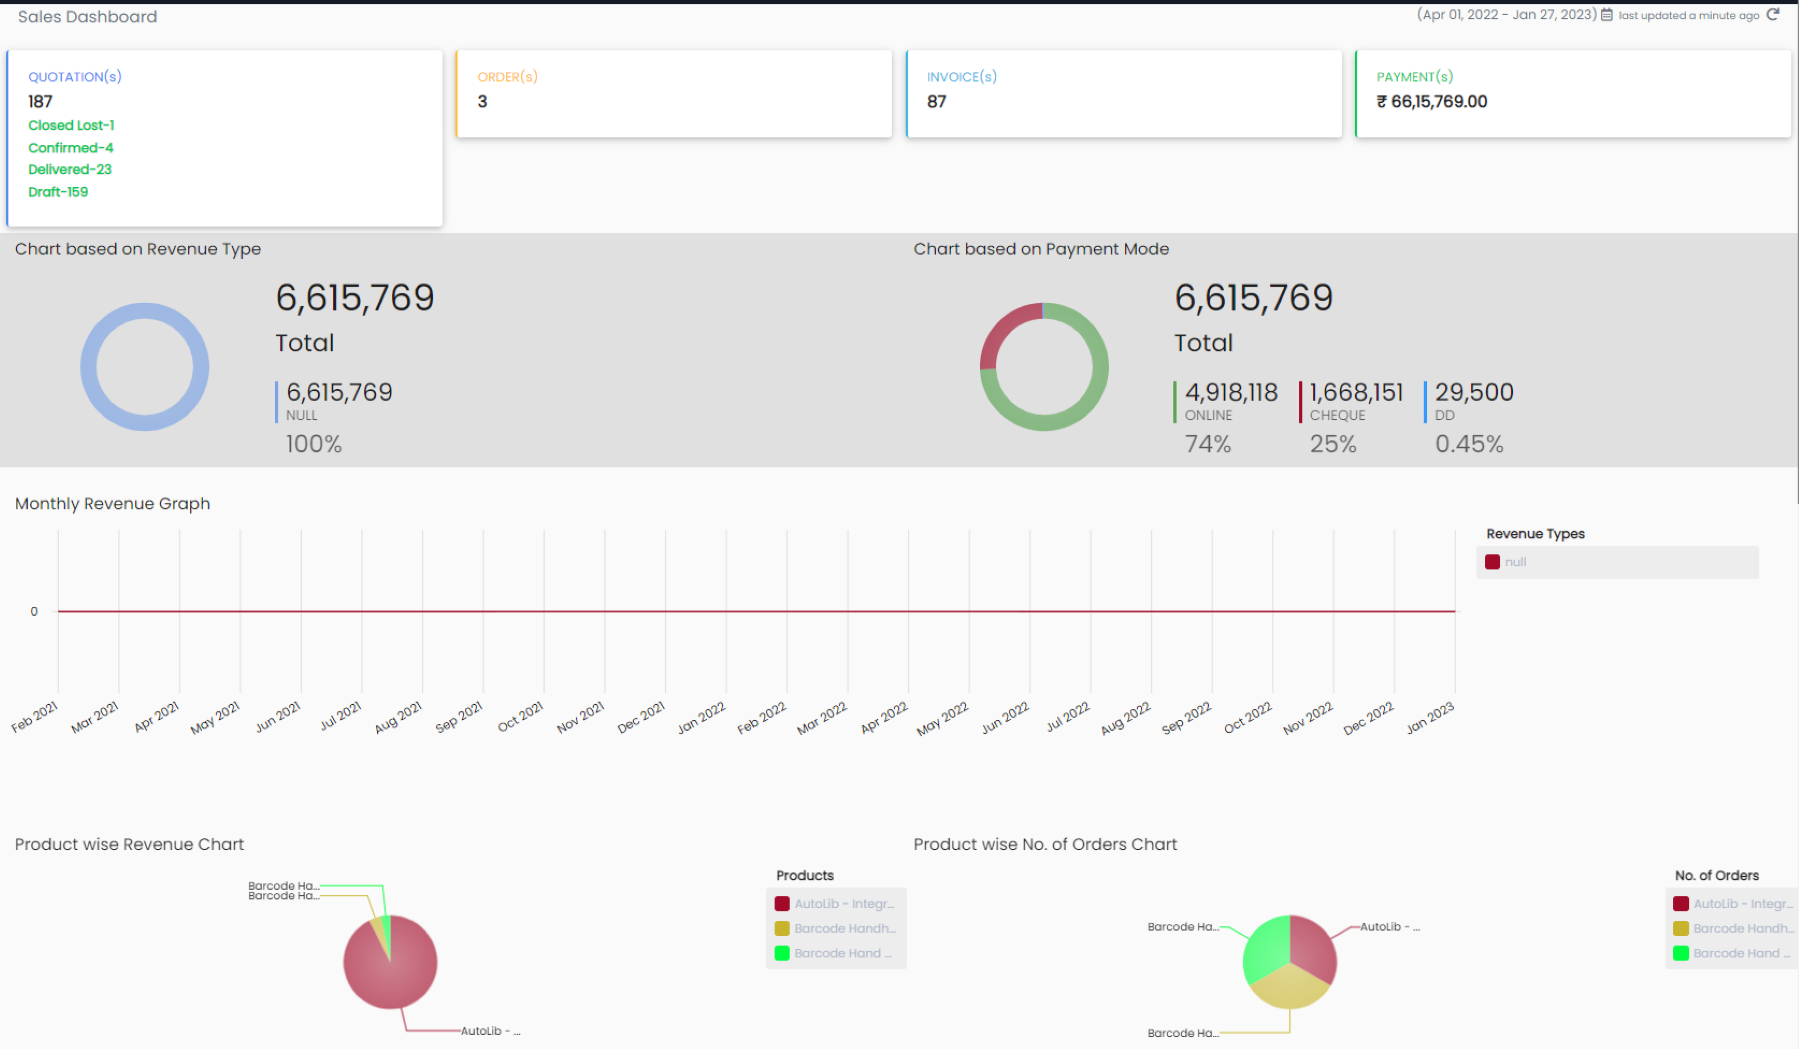
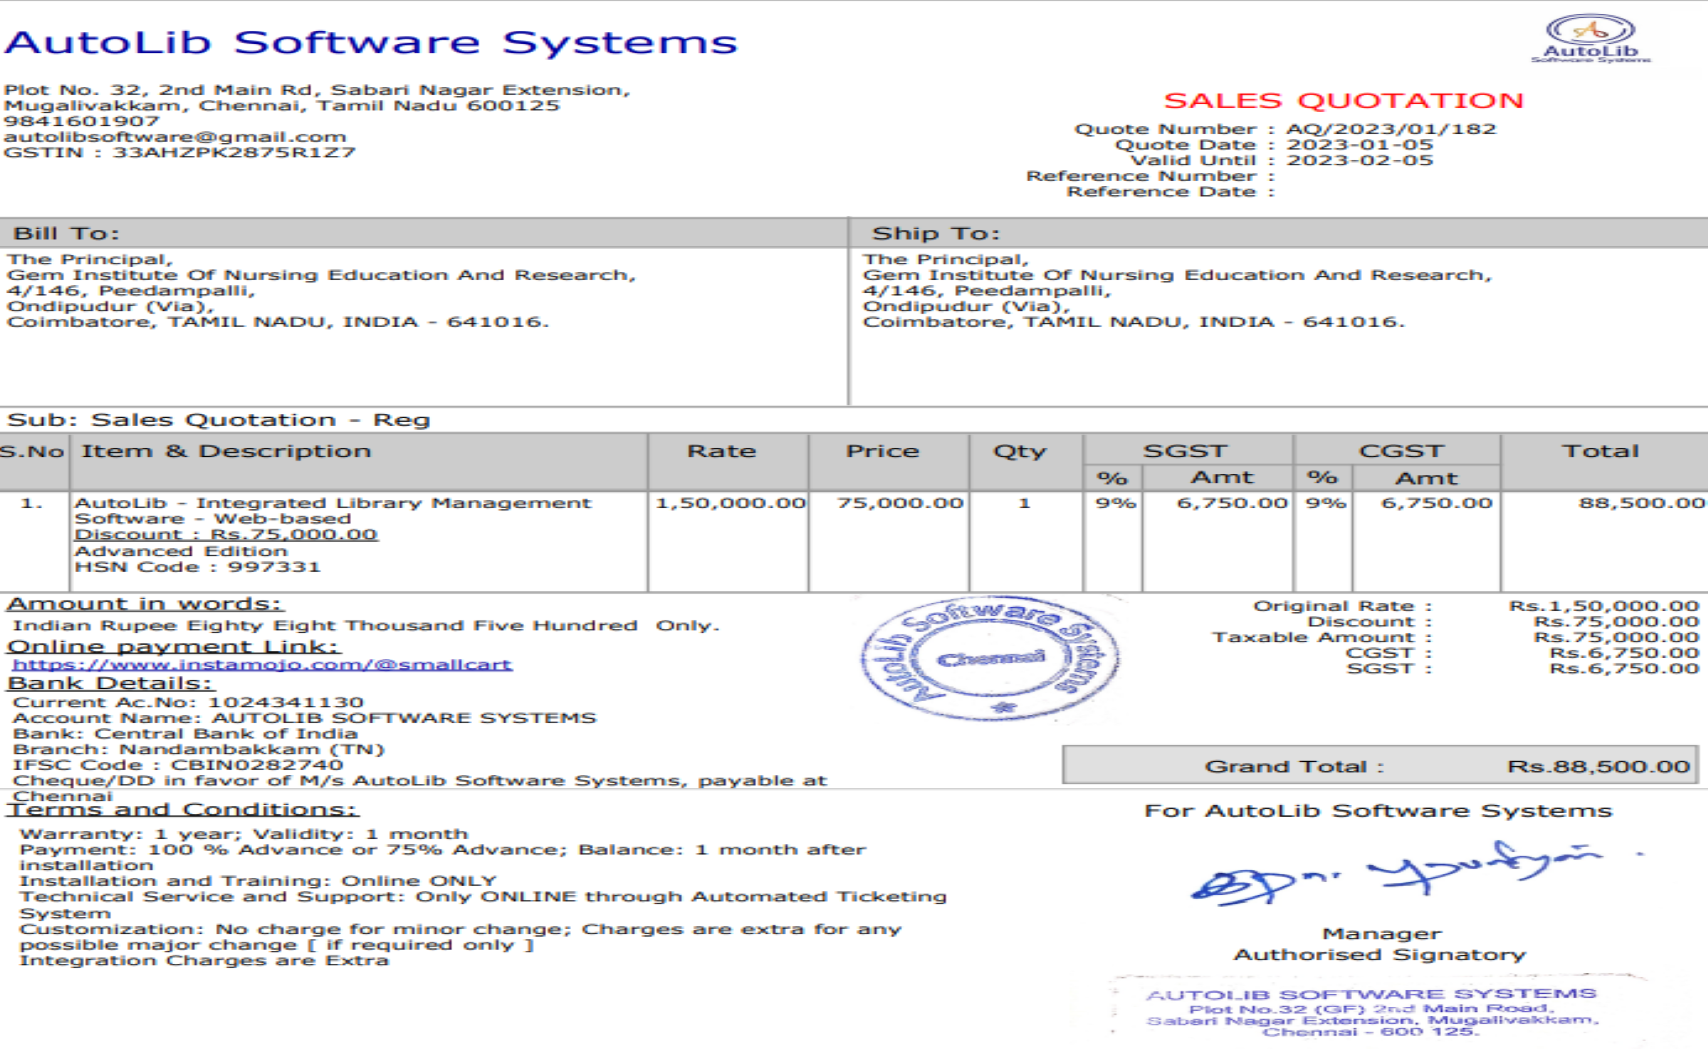
Dashboard Deal Quotation Purchase Order Project Implementation Sales Order Proforma Invoice Invoice Delivery Challan Payments AMC Schedule Notes Email

Purchase
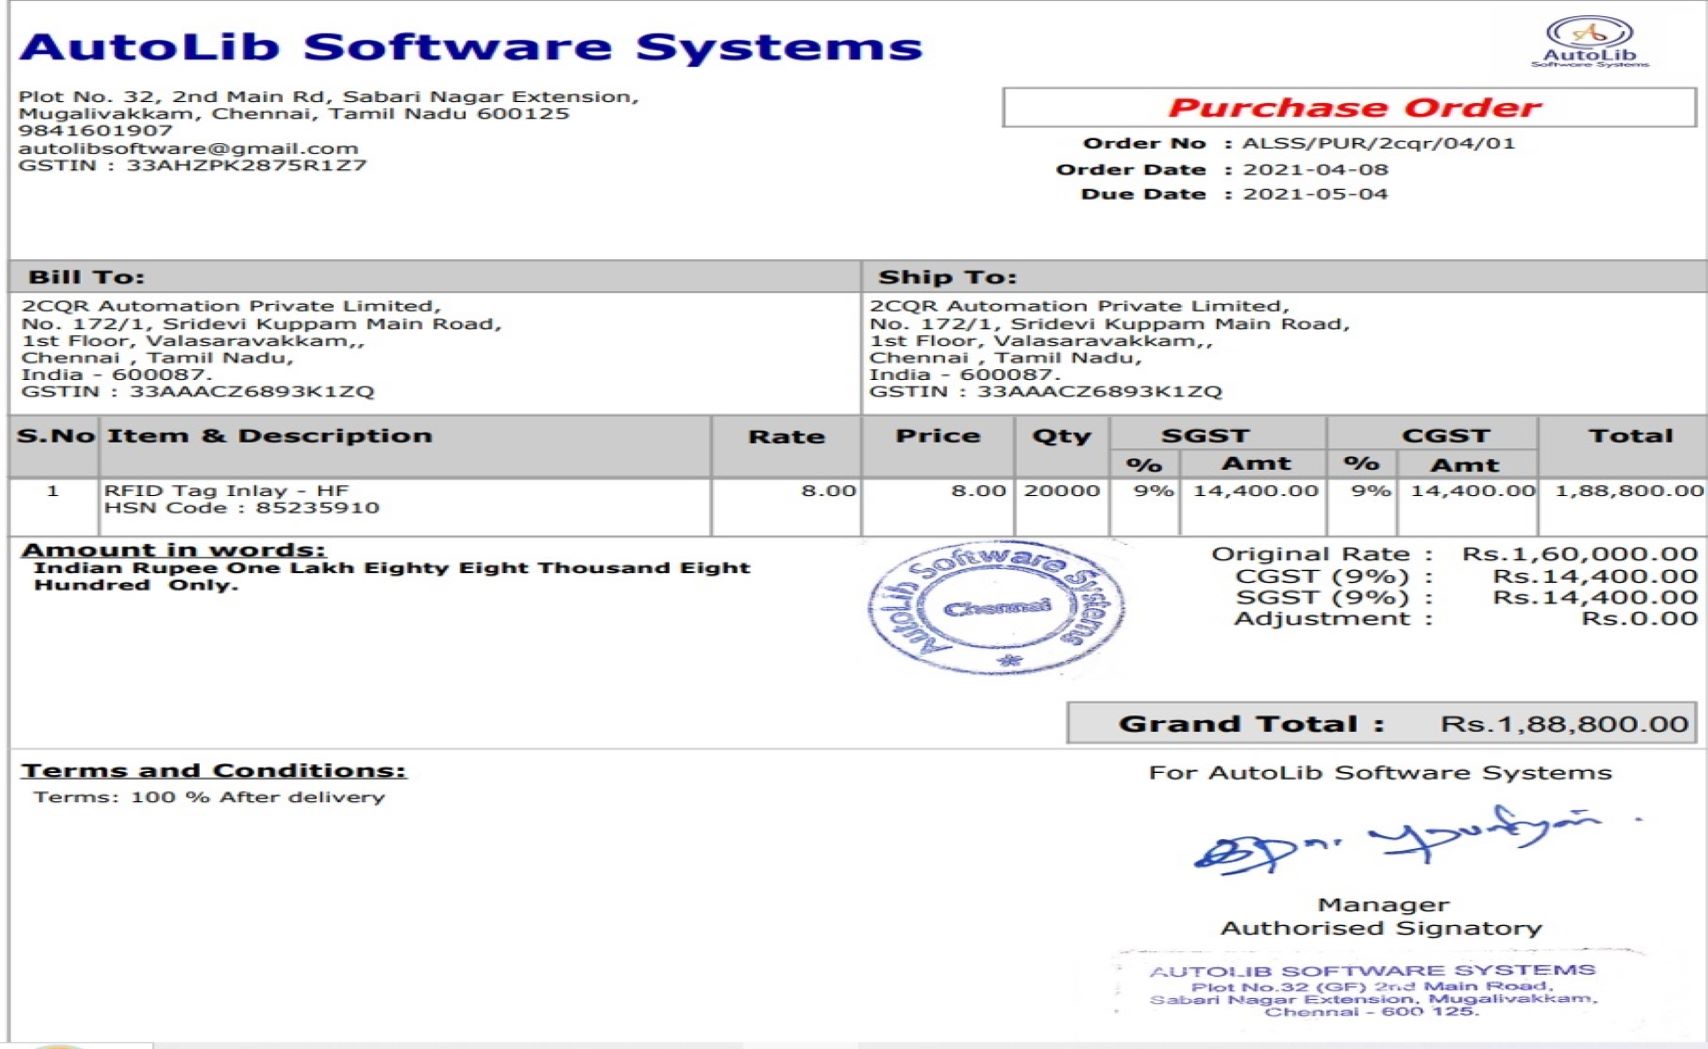
Send Quotation Create Purchase Order Receive Bills Purchase Input Bill Payment

Search
Deals Quotations PO Project implementation Sales orders Proforma Invoice invoice-Delivery Challans Payments Reminders

Reports
Product Customer Supplier Quotation invoice AMC Tickets Purchase Accounts HR Leave Salary Lead Teams
Frequently Asked Questions
Frequently Asked Questions
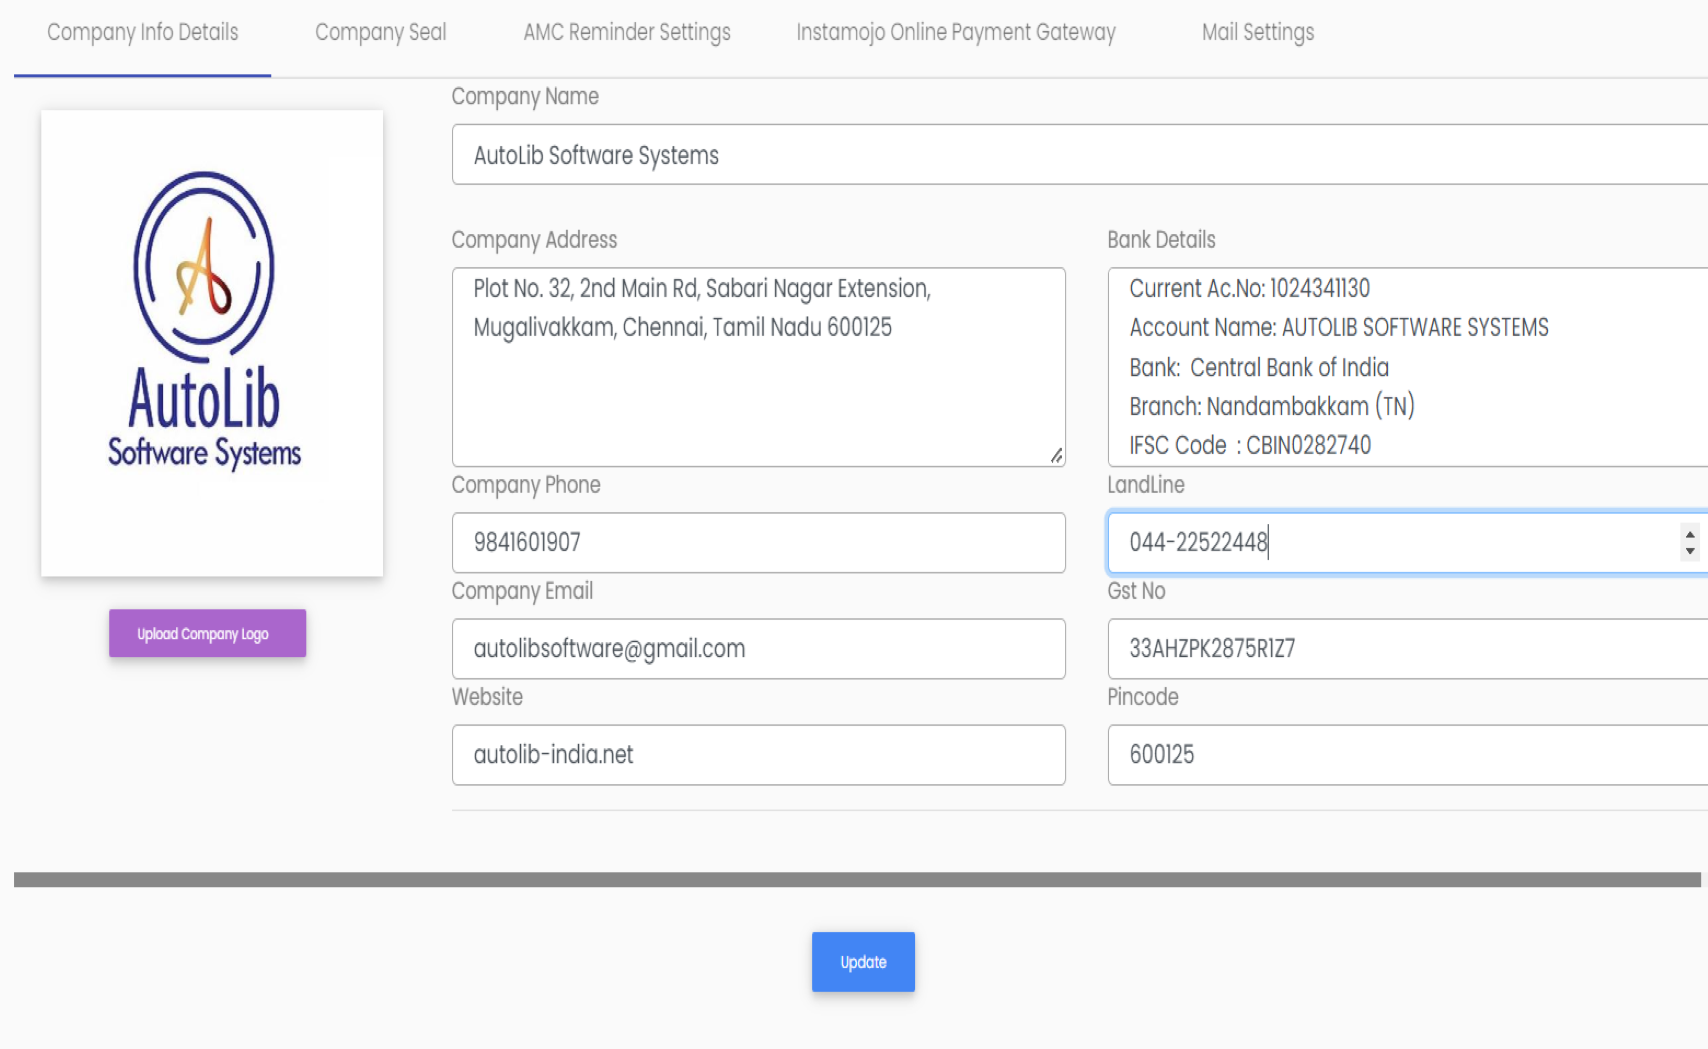
You can use the Admin menu to add the details of your company
You can add the details of your products in the Add Product option under the “Product” menu.
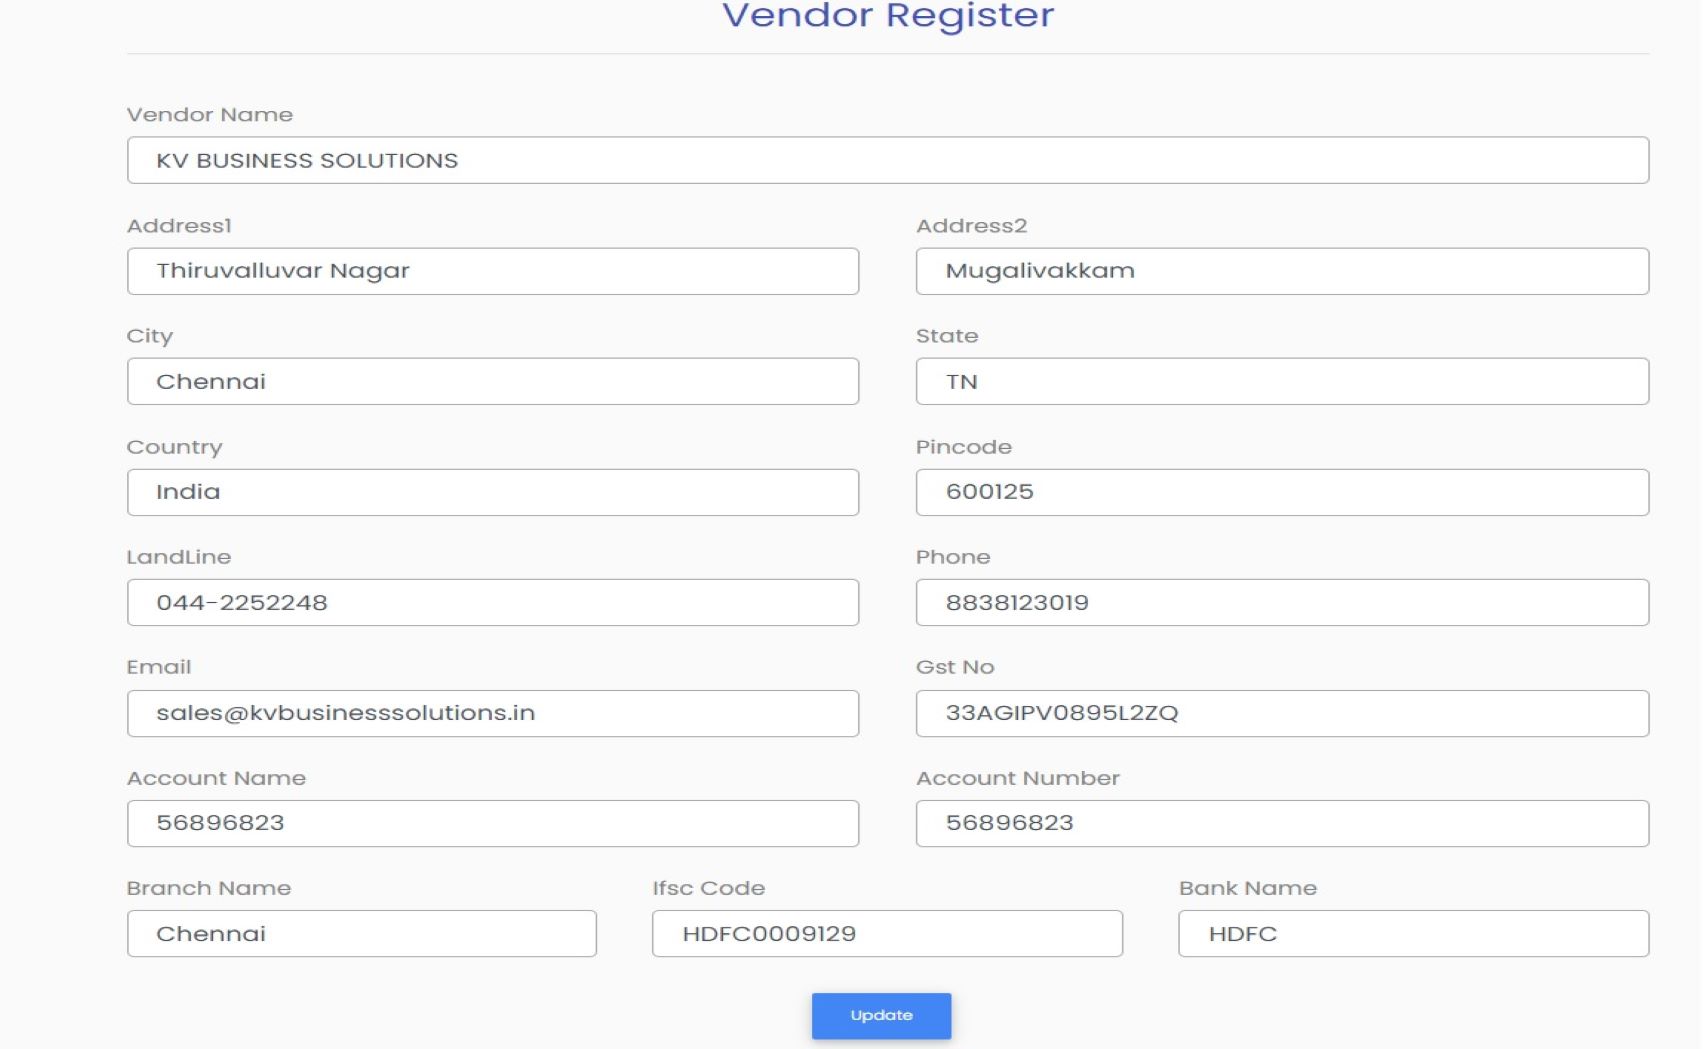
You can add your customers’ profiles using the customer menu and your vendors’ profiles using the vendor menu. In the HR module, you can add employee or agent profiles
You can create a deal by visiting the sales module. The Deal workflows allow you to convert the deal into a quotation, proforma invoice, or invoice.
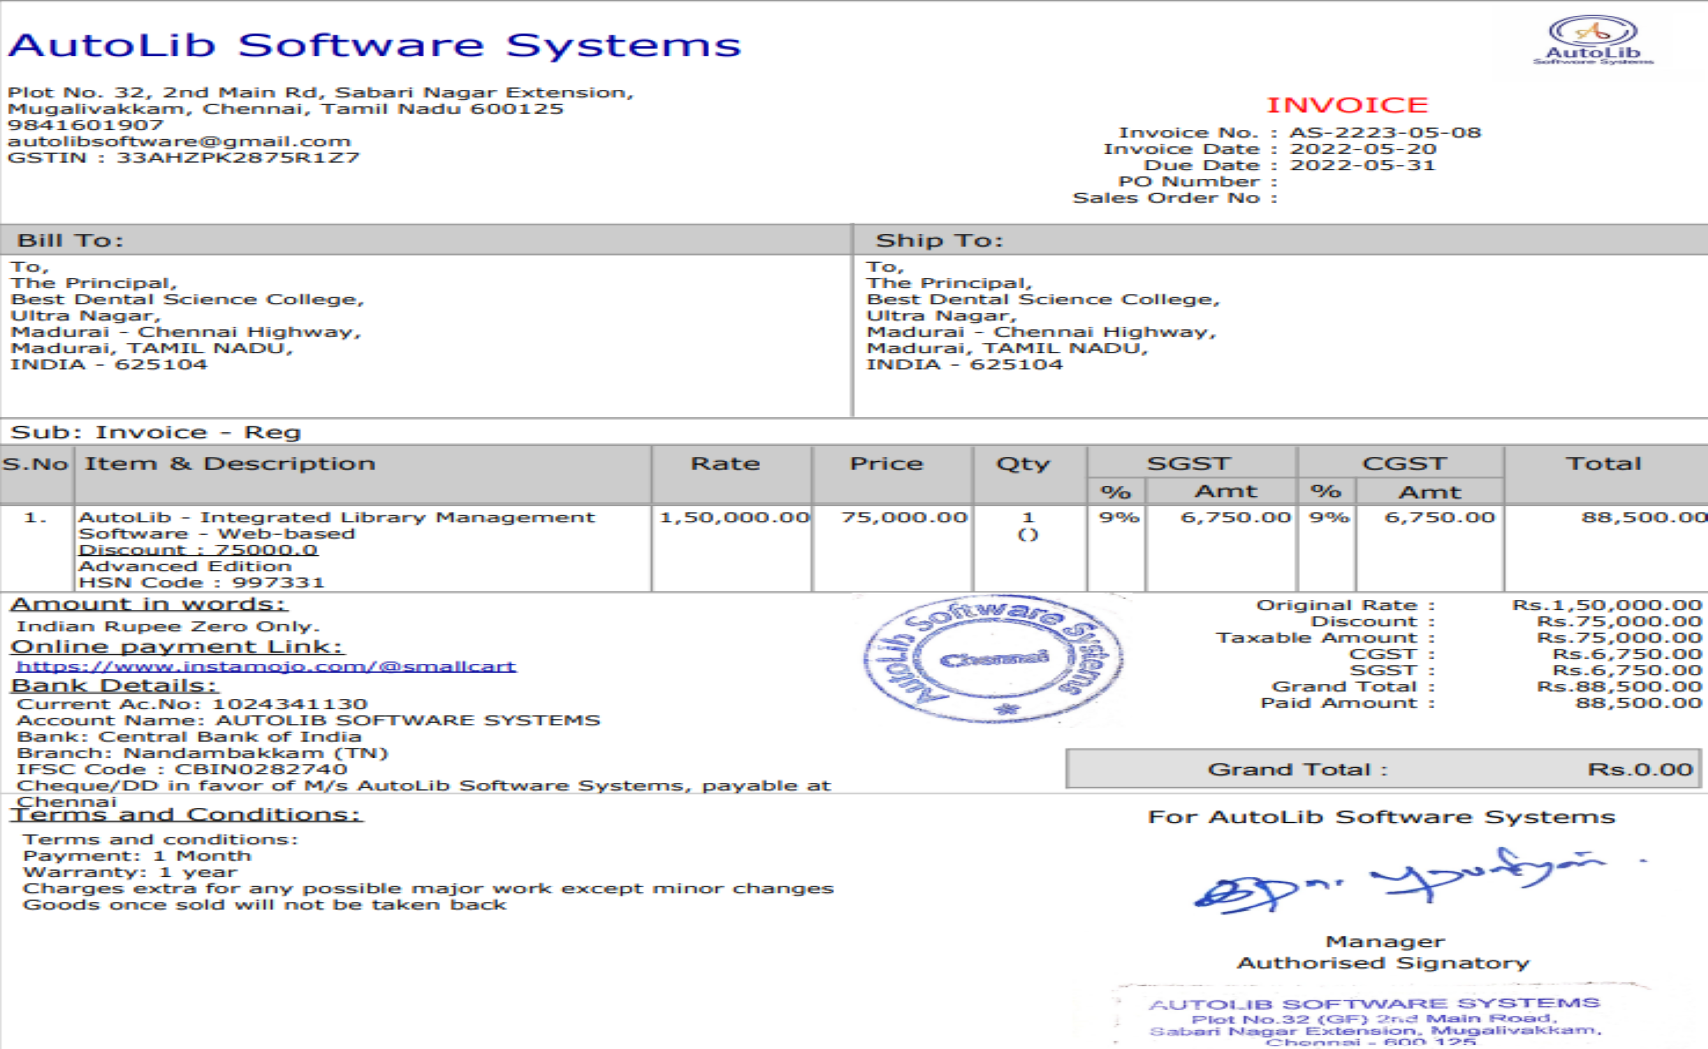
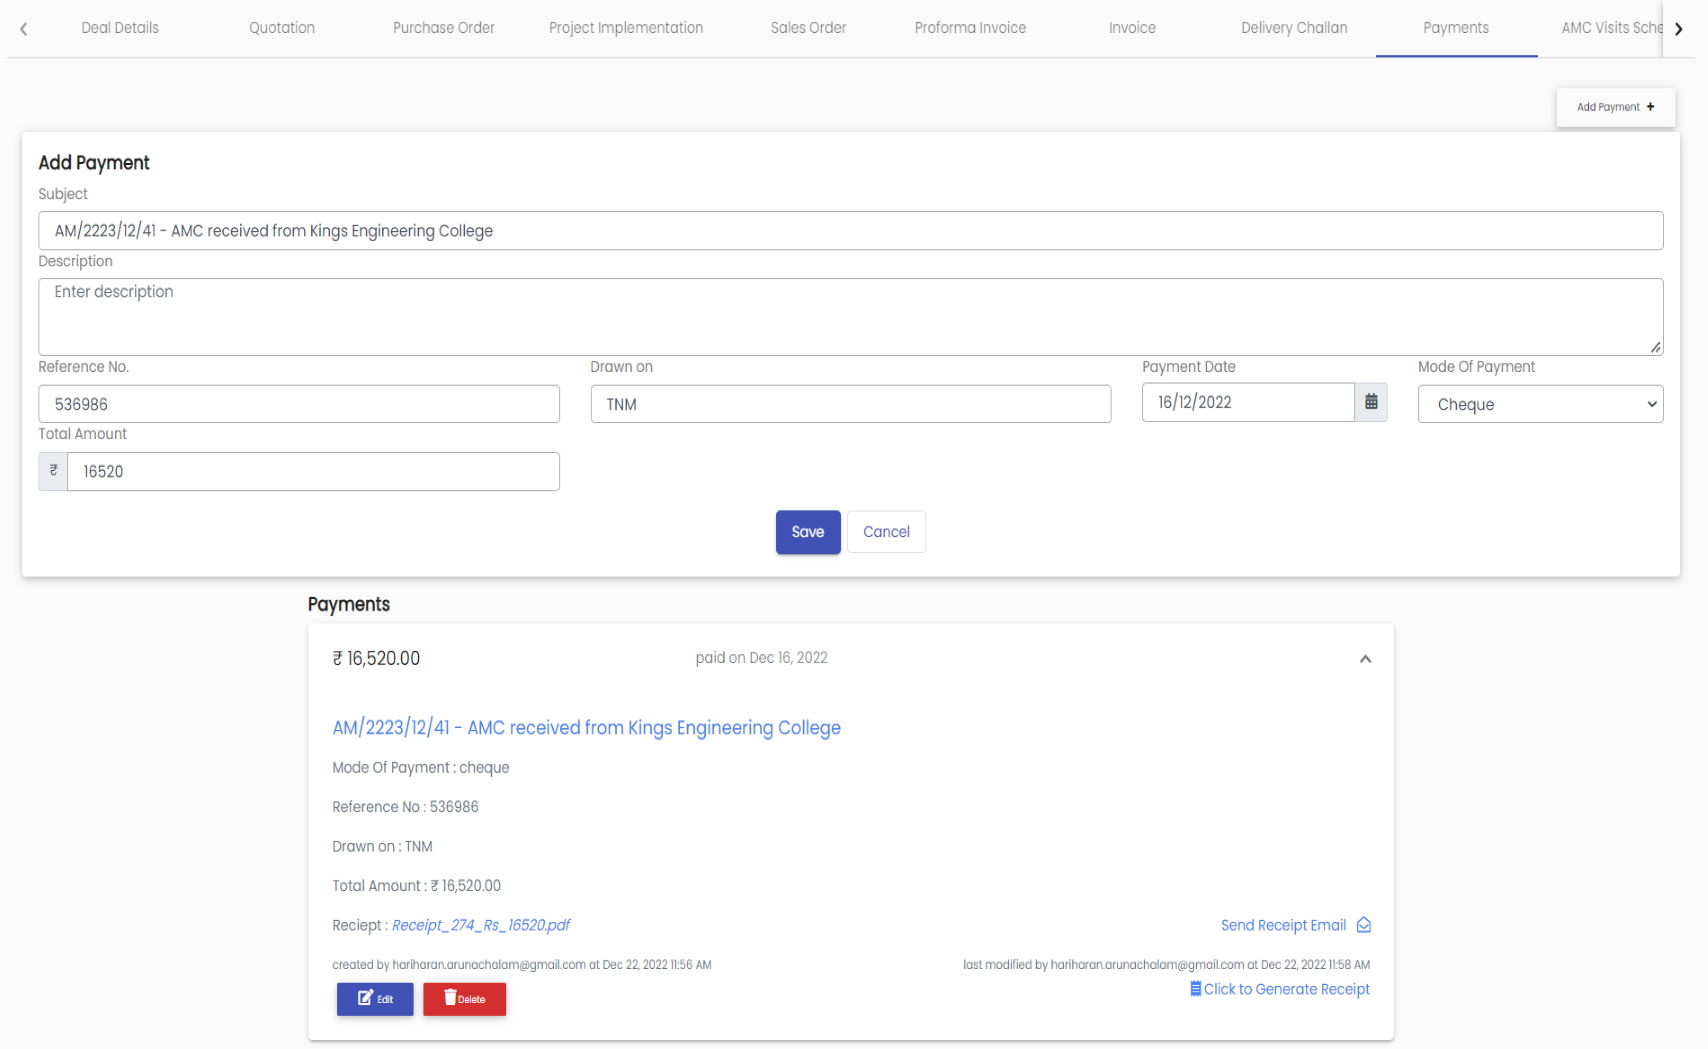
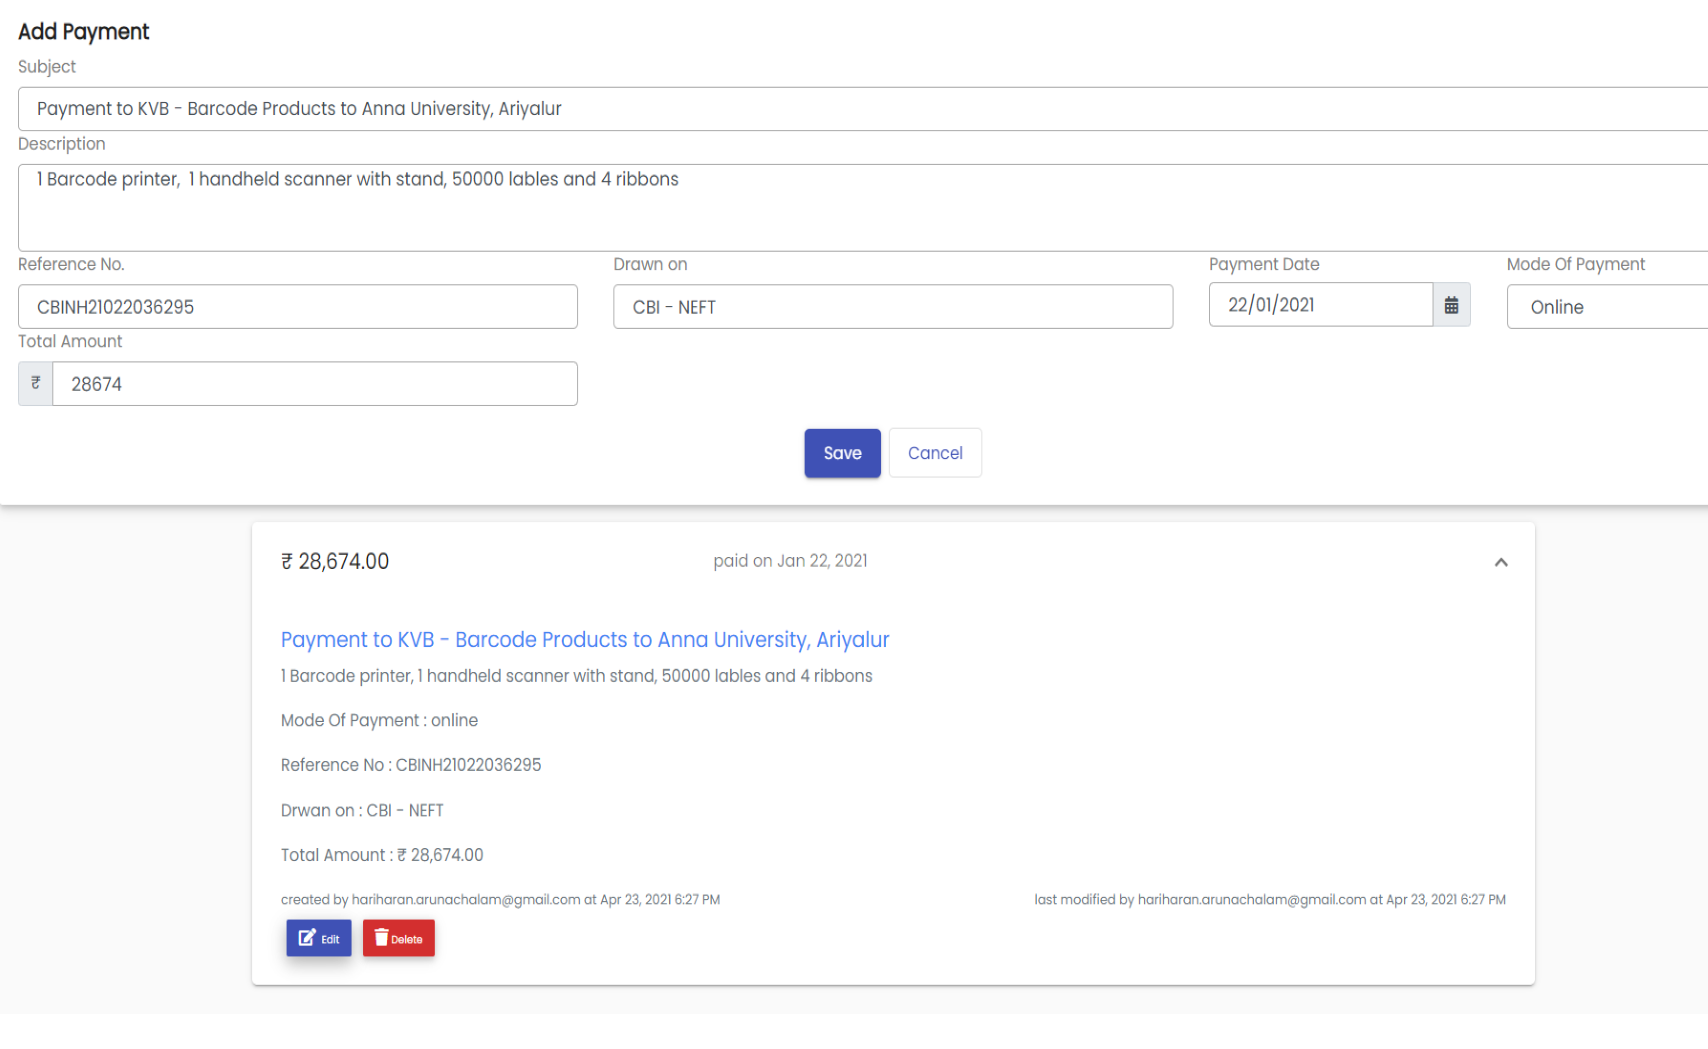
You can search for and retrieve the correct invoice in the Sales module. If you click the selected invoice, the invoice will be retrieved and displayed on the screen. Again click the invoice deal number to get the “payment” on the top of Sales Workflow, then select the “Payment” and click“ Add Payments.” You can enter here the details of payments received, such as date, mode of payment, amount received, and other payment details, and save them.
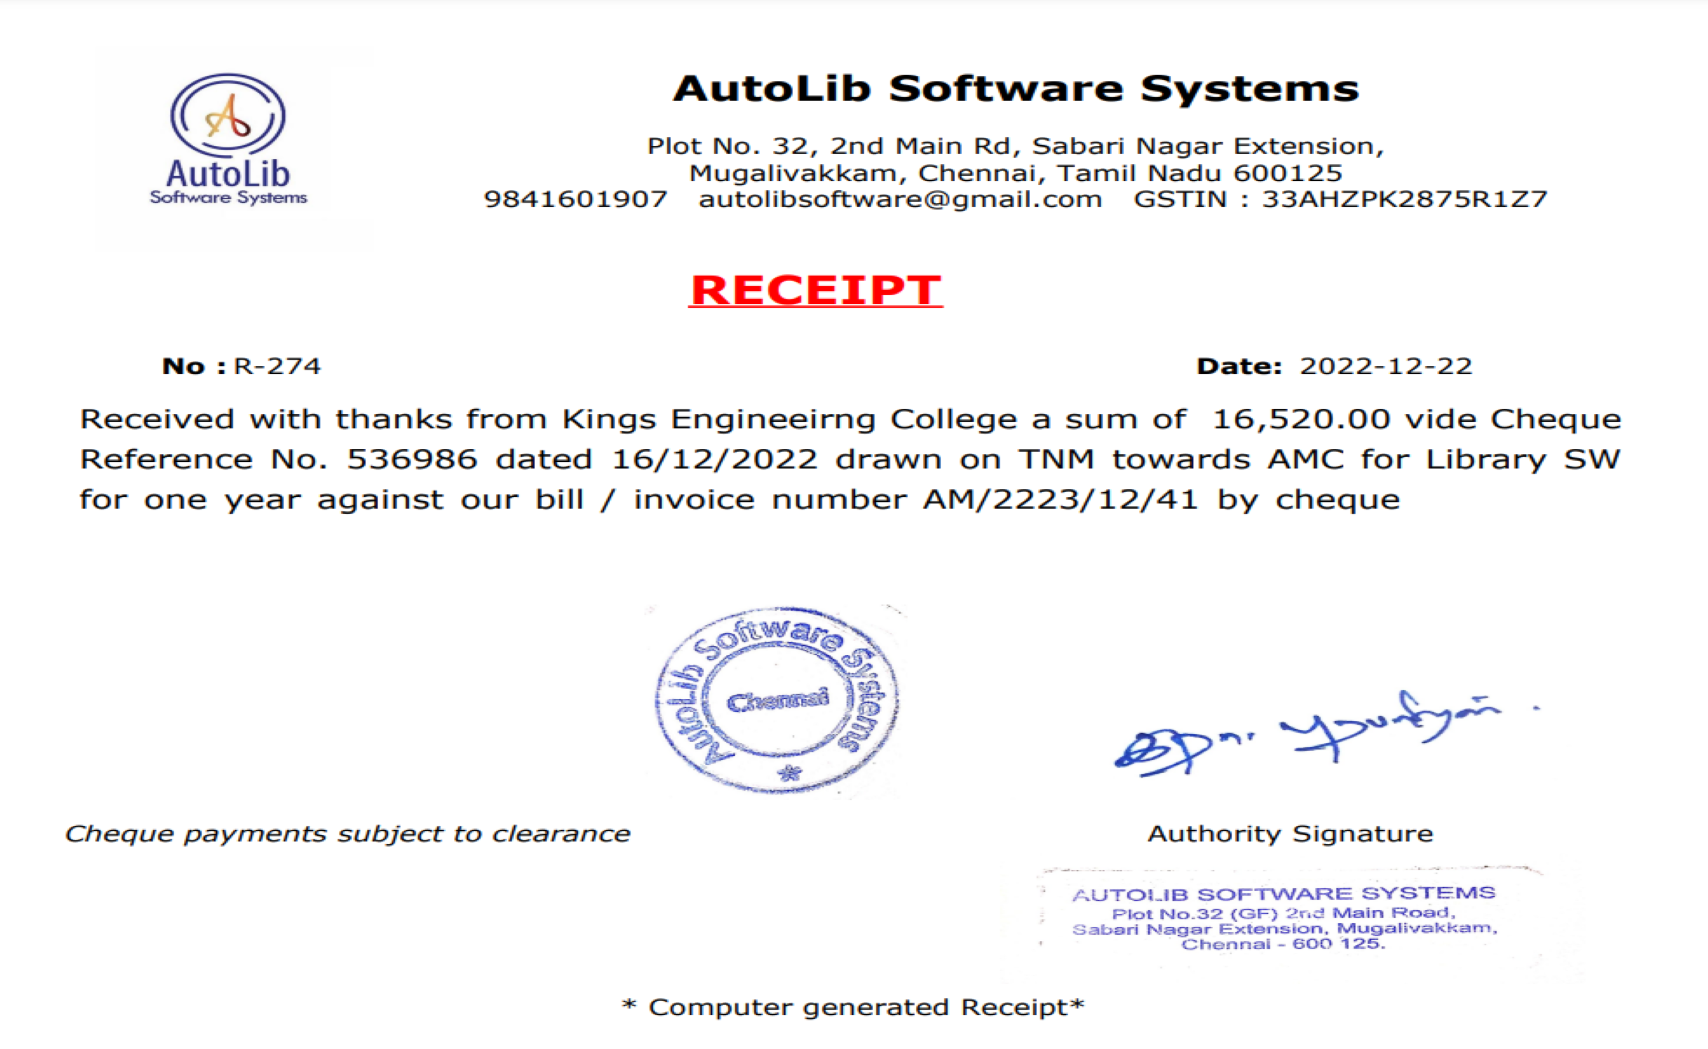
You can first add payments as given under “How do I add payments to an invoice?” and click “generate receipts.”
You can search and retrieve the correct invoice. Then click “Generate Delivery Challan” at the bottom of the invoice descriptions and select the desired “Template” to generate the delivery challan.
Go to the “Purchase Input” menu and click “Orders.” You will get another screen called “Purchase Order Input,” where you press “+ Create Purchase Input Order.” Select the vendor name from the list, and then give your PO number, date, reference number, etc. Then add the product(s) by selecting the product name(s) from the product menu (if the product name is not in the product list, add product details using the product menu), enter the terms and conditions, save and generate the PO, and send to your vendor.
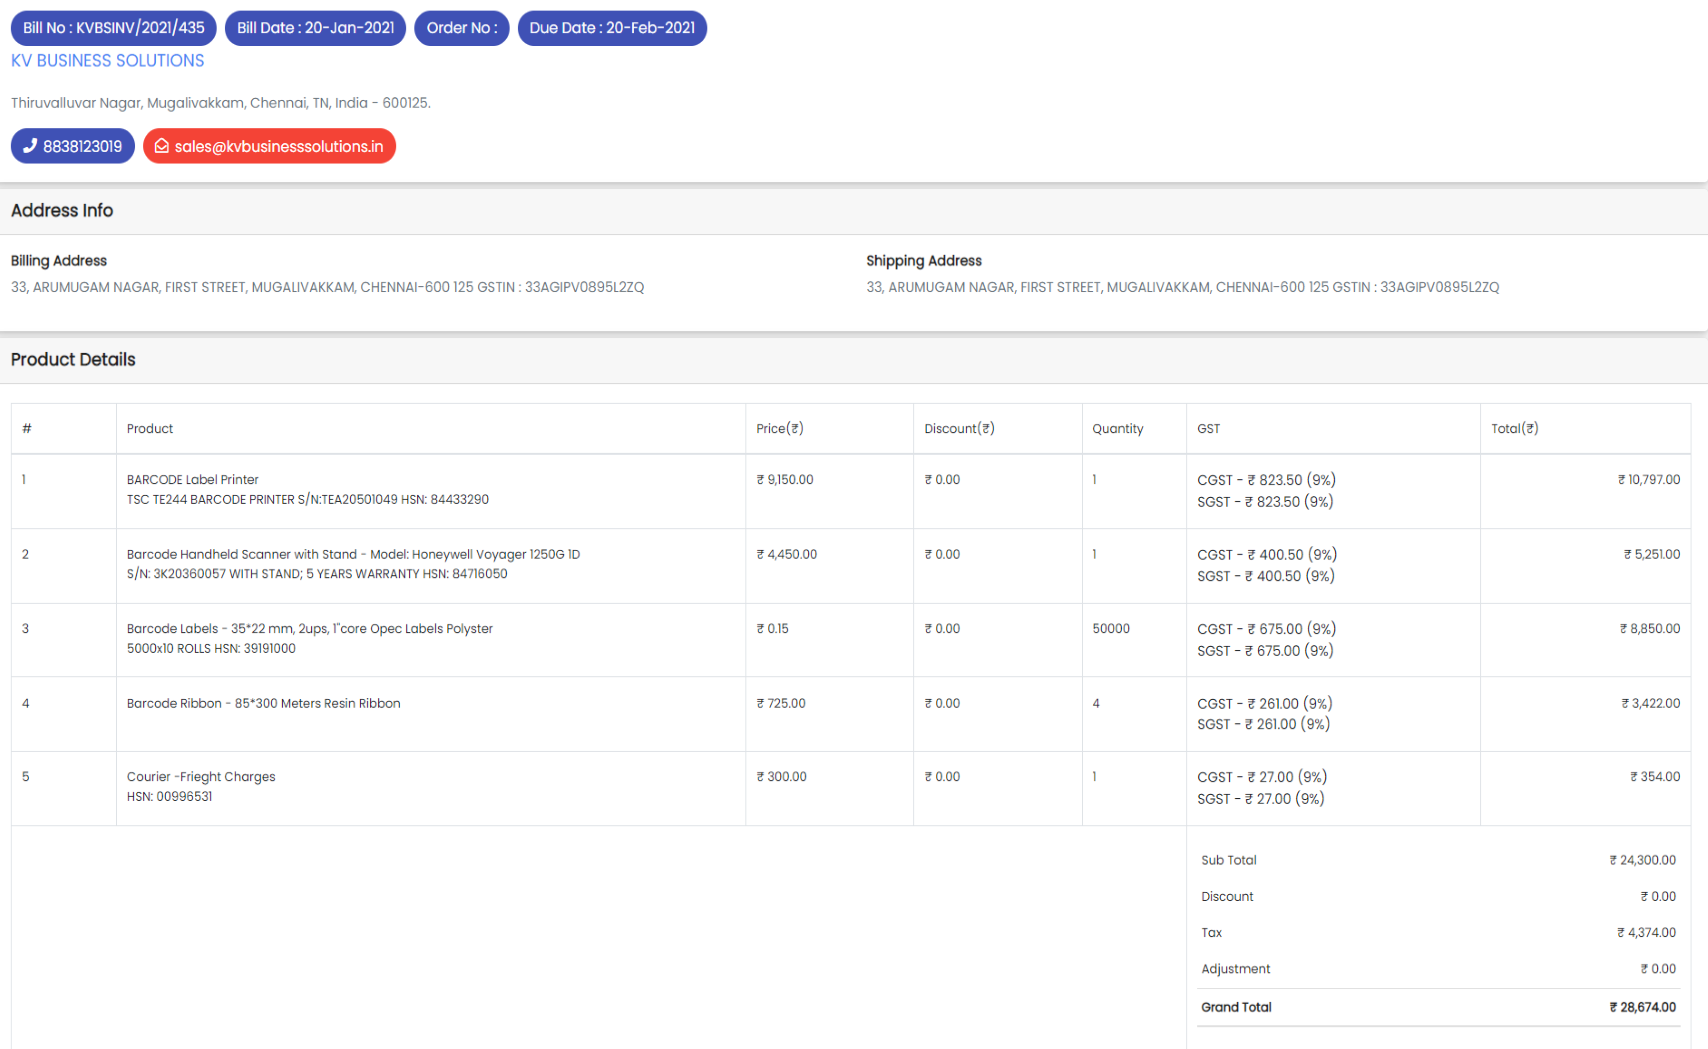
Go to the “Purchase Input” module and click the menu “Bill.” You will get the “Bill Filter” screen, where you can filter and select the correct bill. The bill is displayed on the screen after you click the correct one. Click “Add Payment” at the bottom right, give the payment details (such as the name of the bank, cheque, or transaction number, the date, the bank, etc.), and save it.

